
Building Your First Guitar Kit: Beginner Guide
Building your first guitar kit can be both exciting and challenging. There are many details that only experience reveals. Here is what people usually wish they knew when starting their first build with a The Guitar Fabrik kit.
BROADLY SPEAKING
1. "Pre-sanded" does not mean ready to finish
When a kit is labeled "pre-sanded," it can be tempting to skip straight to finishing. However, most kits require a proper sanding sequence to get a smooth surface. A common sanding progression is 240, then 400, then 600 grit sandpaper. Trust your touch and inspect carefully before applying any finish to avoid visible scratches or uneven grain. Discover more tips in our wood preparation guides to create the ideal foundation for a high-quality guitar build.
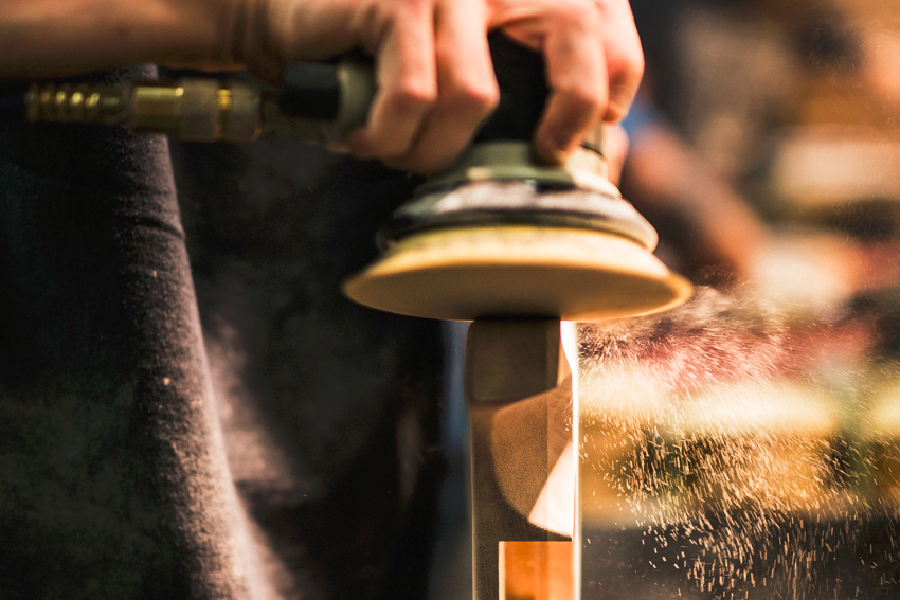
THE WOOD PREPARATION
2. Always perform dry fits
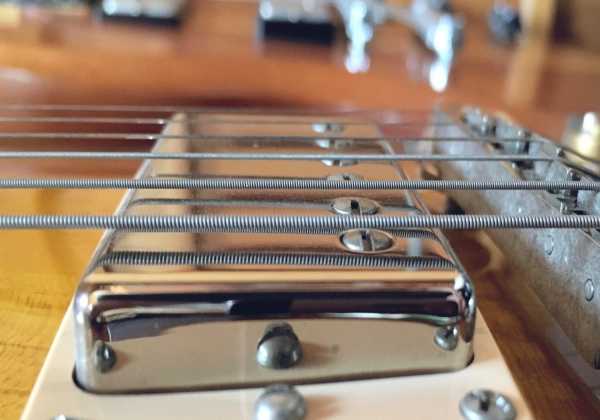
Before gluing or screwing anything in place, dry fit all parts. Check the neck pocket, pickguard alignment, and bridge placement. Measure carefully more than once. This step helps avoid mistakes that can be difficult or impossible to fix later. Dry fitting ensures your parts fit well and your build will come together smoothly. Learn from our dry fitting resources to ensure your parts fit perfectly and your assembly goes smoothly.
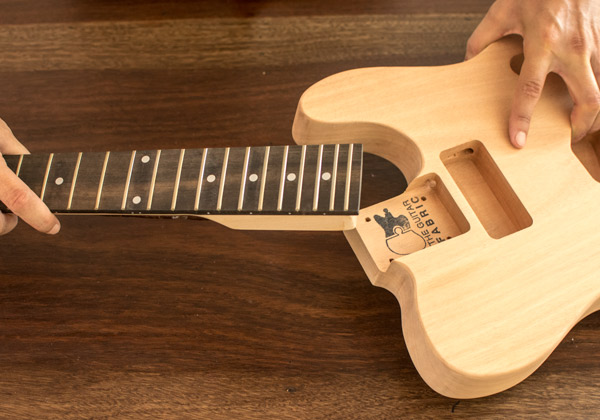
INTEGRATING GUITAR NECK TO BODY
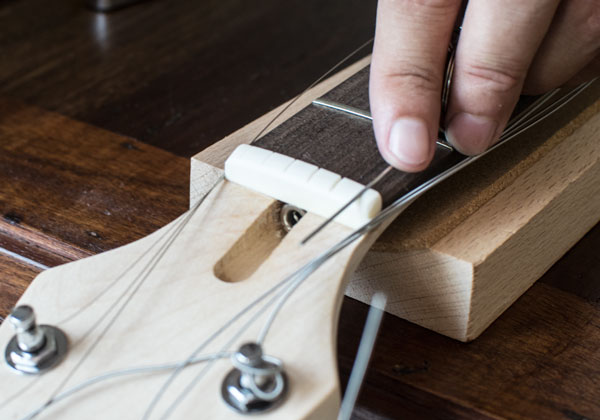
3. Wiring requires patience and attention
Wiring a guitar can be tricky. While all our kits are designed to be solderless for easier assembly, this advice applies to any guitar wiring project, including those requiring soldering. Follow wiring diagrams closely and use tools like alligator clips or third hand tools to hold wires in place. Take your time to make secure connections and test your circuit before installing it in the cavity. Faulty wiring is one of the most common frustrations and can affect your guitar's tone or function. Dive into our wiring tutorials for expert advice on crafting clean, dependable guitar electronics that enhance your sound.
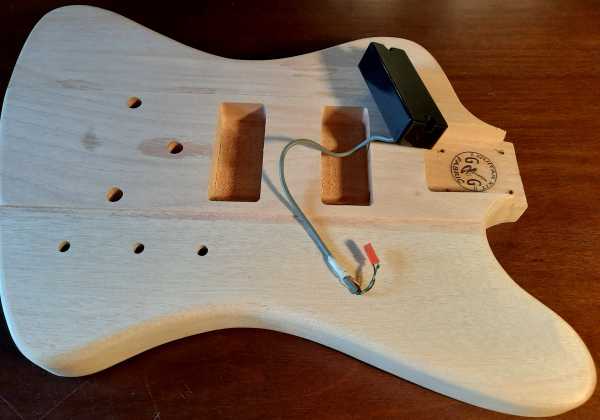
WIRING THE ELECTRONICS COMPONENTS OF A GUITAR
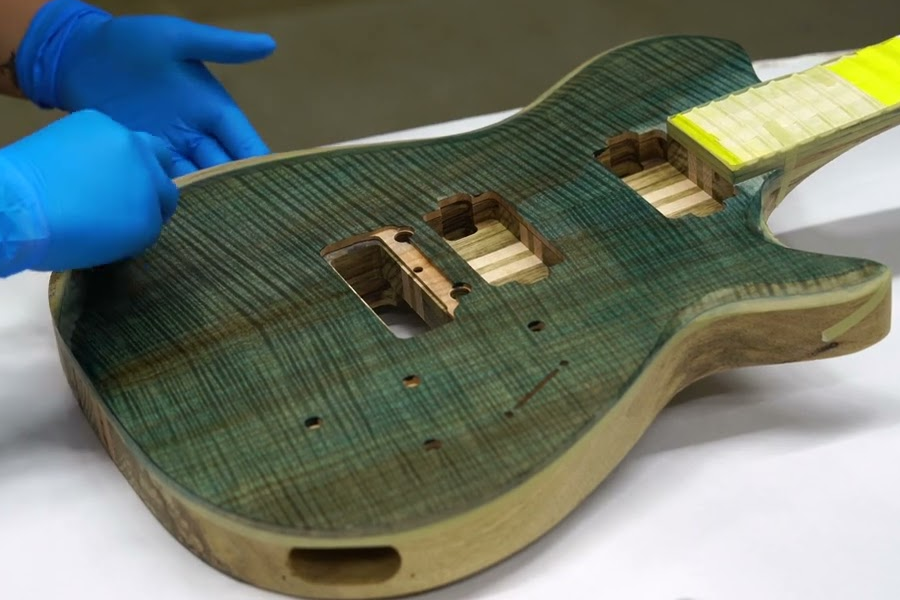
4. Finishing takes patience and care
Applying guitar finish too quickly often causes bubbles, runs, or uneven coverage that can spoil your work. To get the best results, follow these key steps:
- Prepare the wood surface by sanding progressively with fine-grit sandpaper for a smooth, clean base.
- Apply thin, even coats of your chosen finish, such as lacquer, polyurethane, or oil-based varnish.
- Allow each coat to fully dry and cure before lightly sanding between layers to improve adhesion and smoothness.
- Buff and polish patiently in dust-free, well-ventilated conditions to achieve a glossy, professional look.
- Take your time with each step to ensure a durable and beautiful guitar finish that highlights your craftsmanship.
Careful finishing transforms your DIY guitar kit into an instrument worthy of any stage or studio. Find inspiration in our painting and finishing articles to bring a polished and professional finish to your instrument.
STAINING MY GUITAR
HOW TO FINISH MY GUITAR NECK
POLISHING MY GUITAR
Which Painting for my DIY Guitar Kit
5. Setup completes your build
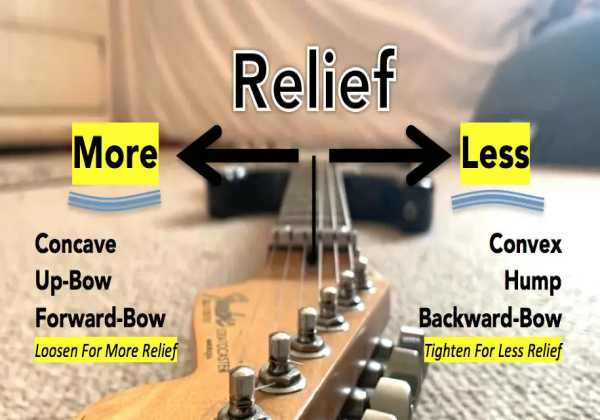
Installing strings is only the first step in setting up your guitar. Proper setup including adjusting string action, intonation, and neck relief is essential for comfortable playability and accurate tuning. Using tools like a string action ruler and neck relief gauge helps ensure precise adjustments. Our beginner setup kit includes these tools to get you started. For more guidance, check out our articles on guitar setup and maintenance to help you achieve the best tone and feel from your instrument.
ADJUST STRING HEIGHT WITH TRUSS ROD
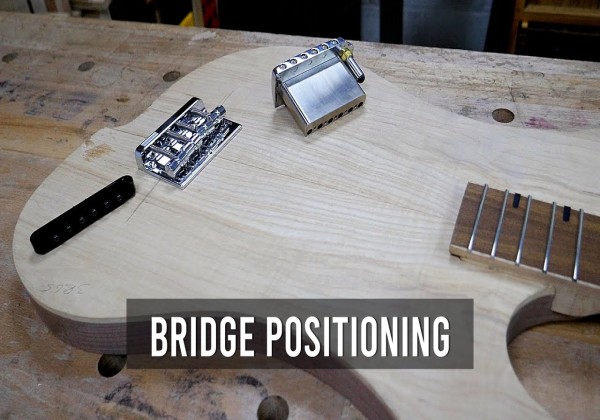
GUITAR BRIDGE POSITIONING
ADJUSTING GUITAR PICK-UP HEIGHT
GUITAR NUT ADJUSTMENT FOR OPTIMAL ACTION
BUILD AND SETUP TOOLS
Necessary Tools
• String Action Gauge: Measure your string height for comfortable playability
• String Feeler Blade: Precision tools to tune string, bridge, and pickup heights like a maestro
• Fret Rocker: Identify uneven frets that can cause buzzing
• Notched Straight Edge: Essential for precise fret leveling and ensuring smooth playability
• Nut Files: A set of 13 precision files to carve perfect nut slots and achieve flawless string action
• Fret Crowning File: Shape and polish your frets to perfection, for that silky-smooth glide
• Fret Eraser: Gently erase fretboard marks and reveal its natural glow
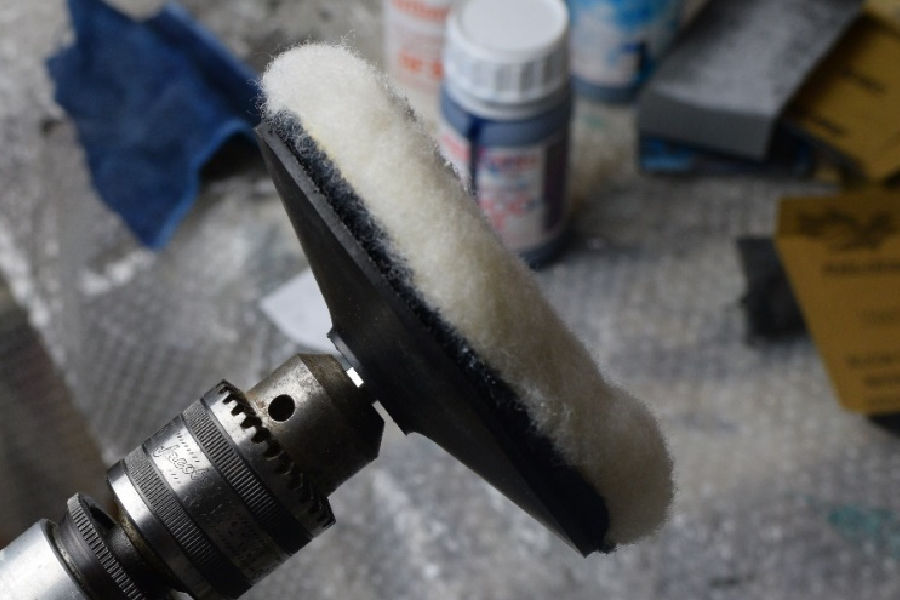
• Sanding Set: Create smooth, even surfaces for finishing


Nice to Have
• Masking Tape: Premium tape for clean guitar painting and finishing
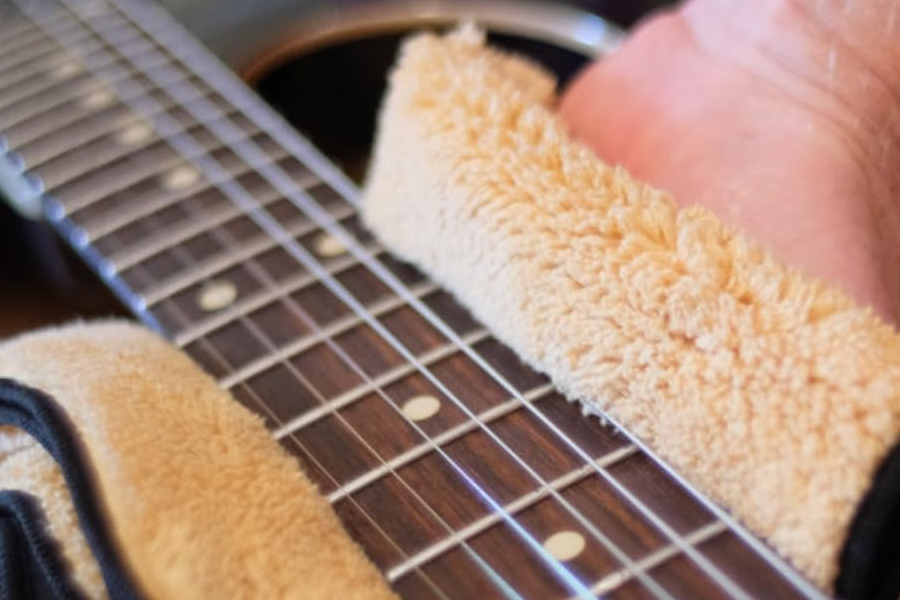
• Polishing Cloth: Maintain a clean, shiny finish throughout assembly
• Wrench Knobs Lifting Tool: Durable helper to fix knobs, pots, switches, and jacks without stress
• Cleaning Guitar Strings: Keep your strings bright and lively with easy, effective cleaning
• Clamp : Achieve perfect alignment and stability, ensuring your guitar body and neck stay in place.
• Neck Relief Gauge: Check and adjust your truss rod accurately


Complete Tool Kit
Our Guitar Setup Essentials Kit includes all the key luthier tools needed for accurate and efficient guitar maintenance. This complete kit features a string action ruler, fret rocker, nut files, string spreader, feeler gauges, and more. Ideal for precise adjustments, fretwork, and custom setups.

Conclusion
Building a guitar from a DIY guitar kit is a hands-on process that helps you understand how each component contributes to the instrument's playability and tone. It’s a practical way to gain control over your custom setup while developing essential luthier skills.
Work carefully, take accurate measurements, and follow each step with precision. A well-built kit guitar reflects the quality of your process and the care you put into the build.
