UK
UK FR
FR DE
DE IT
IT ES
ESVARNISHING MY GUITAR WITH WATER-BASED
- The Guitar Fabrik
- PAINTING USER GUIDE
- Mar 16, 2025 views
- 329
WATER-BASED VARNISHING
General Information
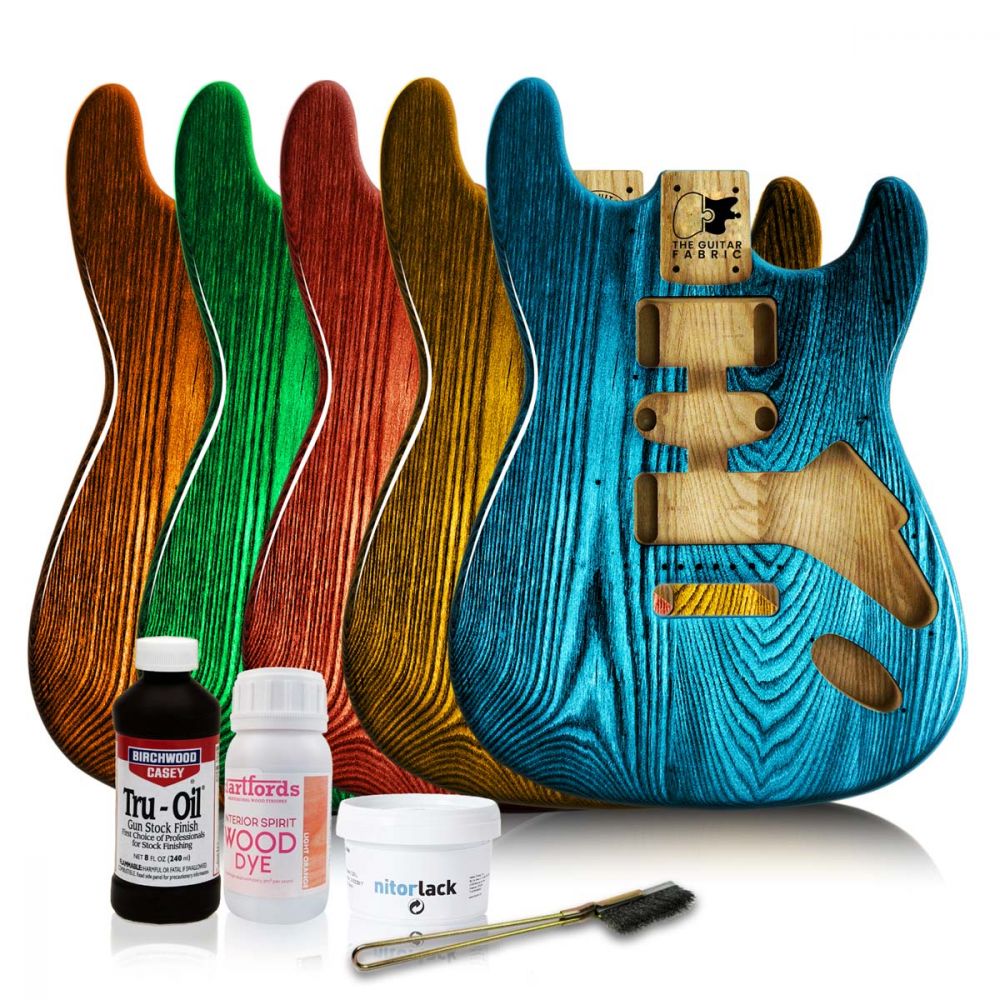
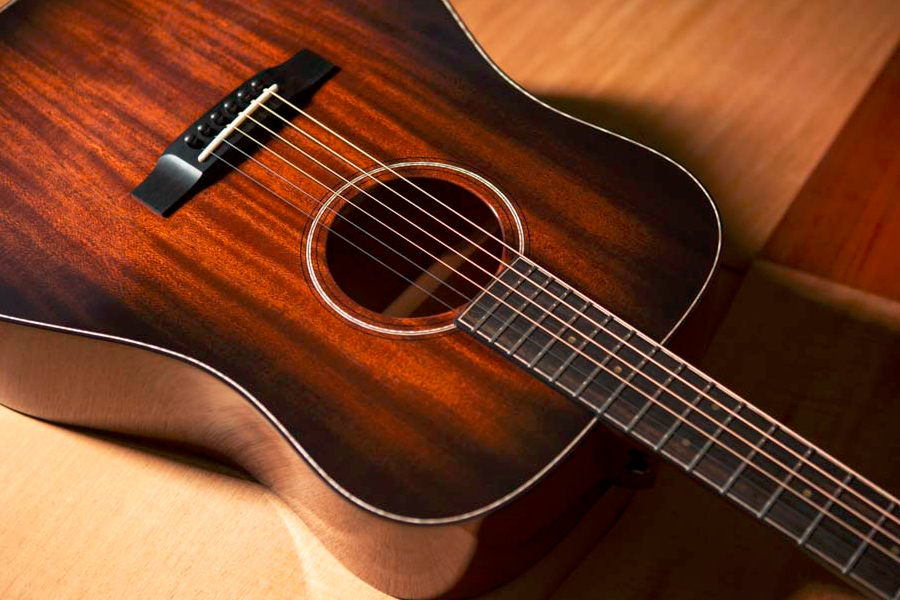
Although store-bought electric guitars are finished in polyurethane, we have chosen to provide you with a water-based lacquer. The reason is that it is easier to apply and non-toxic. In addition, in recent years, has greatly improved. Please keep in mind the few comments below.
- Before starting the varnishing step, make sure your wood has been sanded to at least P800.
- It is very important to apply thin coats as much as possible to achieve a smooth finish.
- Applying varnish is the trickiest part so take your time
- Unless you normally prefer the fretboard keys are unvarnished. Instead, keep it as is or apply tru-oil or lemon oil on it for more playability.
- Inspect your wood well after each coat to make sure all is well.
Preparation
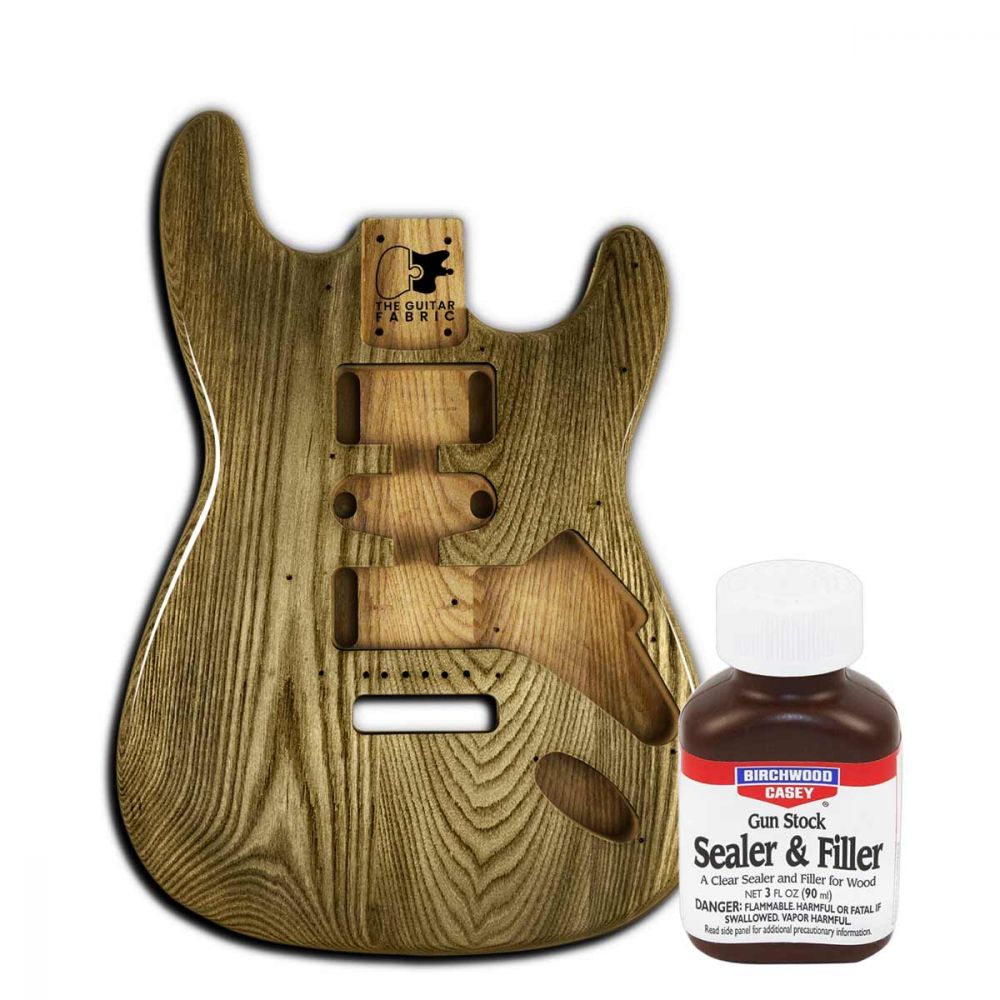
Before opening, shake your 1L water-based clear varnish. Then open it and you can stir it a little more - with a wooden stick, for example - to make sure your paint is homogeneous.
Application
Apply the coats of varnish as thinly as possible. Use a large brush, a clean cloth (with microfiber ideally) or if you ordered a refillable spray can. Remember that the refillable aerosol can allows you to spray 500mL, so use it for final coats. Apply the polish all the time in one direction, the grain direction if possible. Do the top, the side then the back. For the first 2 coats, do not sand between coats unless there are runs or orange peel. If there is any streak or orange peel sand with P400. Also make sure to wait until it is completely dry before applying each new coat (2 hours is recommended for the first 2 coats, then wait overnight).
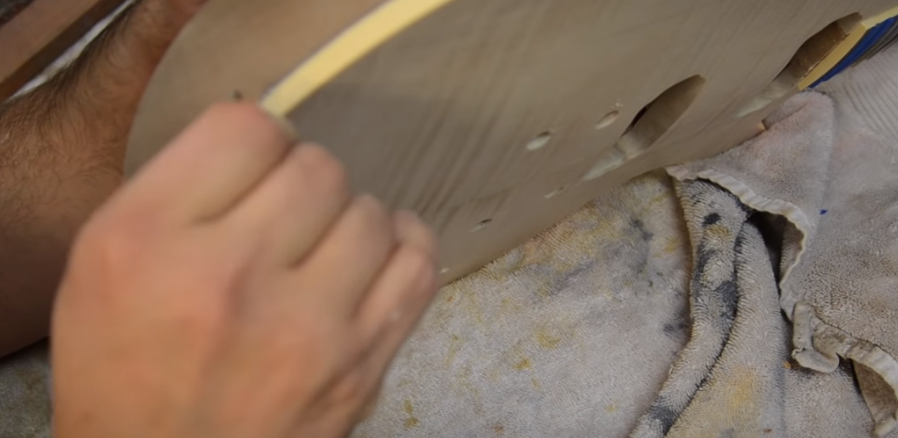
For the third coat, apply it as usual and wait 4 hours before sanding with P800 sandpaper as explained in the sanding section. But this sanding should be done very gently, eroding the surface with almost no hand pressure on the wood. This will help the next coat to attach to the previous one as well as a smooth finish. Once again you really have to be careful not to sand too much so as not to sand the under layers. For the last two coats: Pass the first coats, wait 45min and iron a new coat without sanding.
The number of coats to apply may be different depending on how finely you have successfully applied your coats. I would say about 5-6 coats is enough. Or you can stop when half the paint has been used for the body and 400ml of the paint for the handle. Below is a summary table of the varnishing steps.
Coats | Waiting Time (after one layer) | Type of sanding |
1st coat | 2 hours | None (P400 if drops or peels) |
2nd coat | 16 hours | None (P400 if drops or peels) |
3rd coat | 4 hours | P800 light sanding |
4th coat | 4 hours | P1000 light sanding |
xth coat | 4 hours | P1200 light sanding |
Second-to-last coat | 45 minutes | None |
Last coat | 1 days x number of coats |
Tip: You can also incorporate wet sanding instead of dry sanding for an even smoother finish. Use high grit waterproof sandpaper (P800–P2000), a sanding block, and clean water with a few drops of dish soap — it acts as a lubricant and helps prevent scratches. Soak your sandpaper in water for 10–15 minutes before use, and lightly moisten the guitar surface as well. Ideally, keep both sandpaper and surface damp while sanding. Gently sand the surface, and frequently wipe it down to inspect your progress. This reduces airborne dust and gives a finer result, but requires a delicate touch to avoid sanding through the finish layers.
Caution: Wet sanding is not suitable for Tru-Oil finishes: water can damage the oil layer and may seep into the wood. Always use dry sanding techniques when working with oil-based finishes. Also, never wet sand bare wood — this technique is meant for sealed, colored, or clear-coated surfaces only. Ensure the surface is completely dry before applying the next coat.
Inspect your work well to be sure you haven't forgotten to sink etc. For example, if you have applied 8 coats, you will have to wait 8 days before moving on to the sanding and final polishing step. Of course, you can wait much longer if you wish.
Now that the varnish has been passed successfully, you can remove the tape which was used to mask different parts such as the fingerboard, the nut or the bindings.
Take care of the binding of the guitar body (in the event that your body does indeed have bindings!): Your relief may be slightly colored with which case you just have to scrape it lightly with the using a cutter blade.
Note: this finishing kit does not include a final polish which is optional. In fact, even without it, you should already have obtained a very nice result. However, if you want more shine and an even smoother surface we invite you to undertake this final finishing step. Buffing can be divided into 3 steps, level sanding to remove the last defects, sanding for polishing and finally buffing. This will not be discussed further in this user guide.
Related Products

Related Posts
- The Guitar Fabrik
- Jun 27, 2025
- 296views
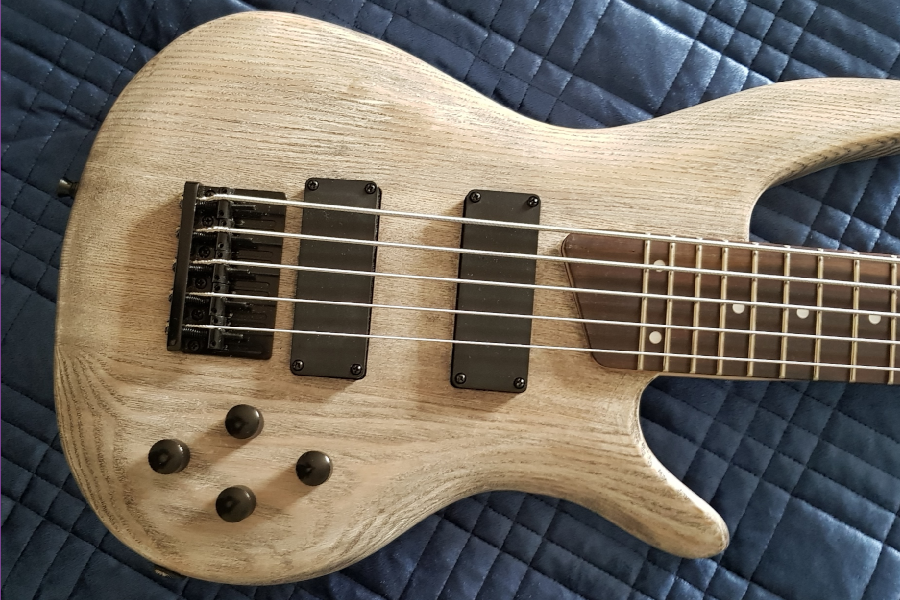
IBANEZ CUSTOM BASS SHOWCASE
- The Guitar Fabrik
- May 29, 2025
- 427views
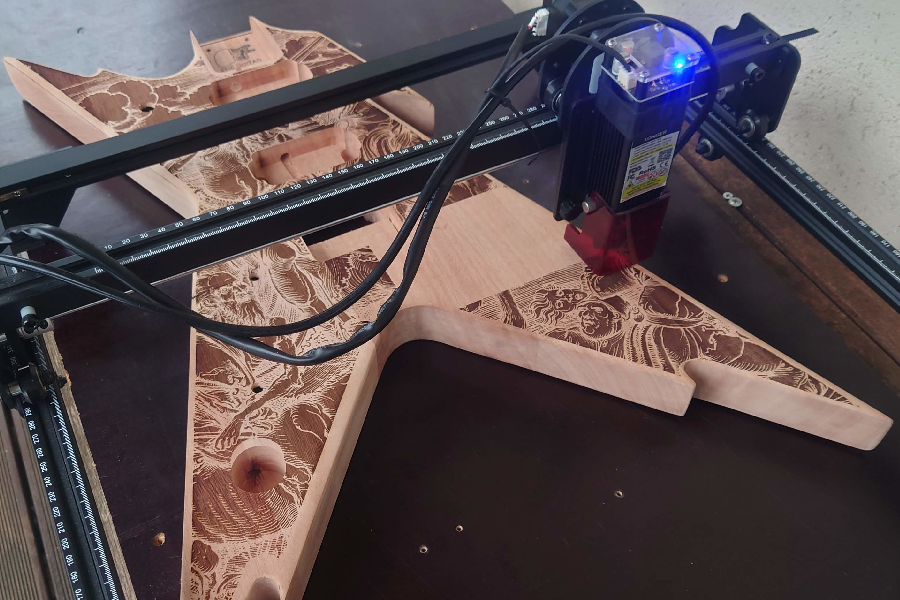
B.C. RICH CUSTOM GUITAR SHOWCASE
- The Guitar Fabrik
- May 1, 2025
- 178views
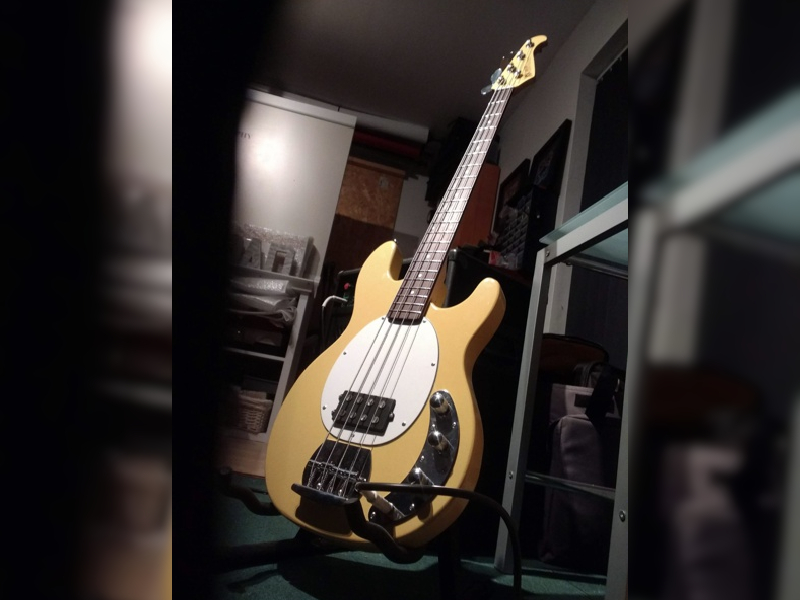
MUSIC MAN CUSTOM BASS SHOWCASE
- The Guitar Fabrik
- Apr 28, 2025
- 733views
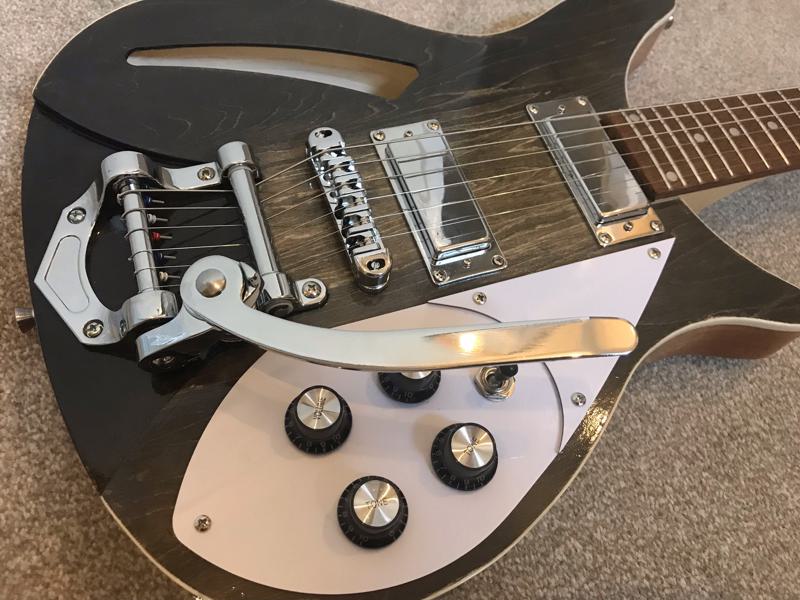
RICKENBACKER CUSTOM GUITAR SHOWCASE
Related Products
Recent Posts