UK
UK FR
FR DE
DE IT
IT ES
ESVARNISHING MY GUITAR WITH TRU-OIL
- The Guitar Fabrik
- PAINTING USER GUIDE
- Mar 16, 2025 views
- 275
TRU-OIL VARNISHING
General Information
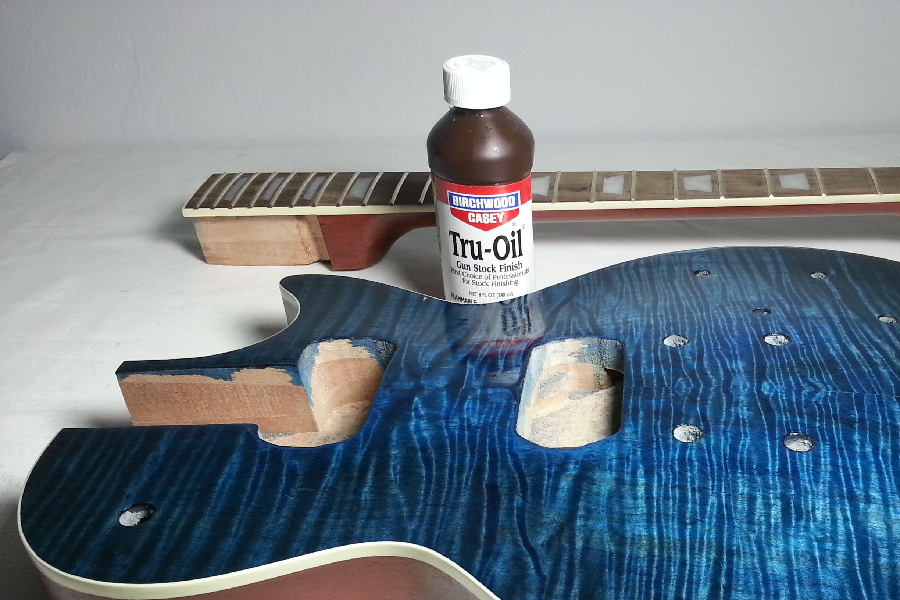
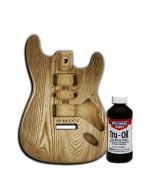
Although store-bought electric guitars are finished in polyurethane, we have chosen to propose a solution using . The reason is that it is easier to apply and almost non-toxic and provides better enhancement of the wood for translucent finishing. Please keep in mind the few comments below.
- Before starting the varnishing step, make sure your wood has been sanded with P800.
- It is important to apply thin coats as much as possible to achieve a smooth finish.
- Quite a lot of coats will be needed so I will say it is the step you might spend the most time on.
- Each time you add a coat it will adjust the coloration of the wood, I will say darker with a light tint of amber.
- Inspect your wood well after each coat to make sure it's all good.
- Remember that compared to other finishing products dries quickly.
- Use gloves.
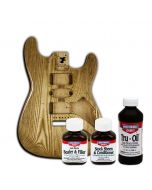
Preparation
Before opening, we invite you to shake your bottle to make sure it is homogeneous. Make sure the guitar body is clean, dry, and free of dust or oils. Position the instrument on a stable, well-ventilated, and dust-free surface, as described in Section III. It's essential that the wood is properly sanded and, if desired, grain-filled. Take a moment to inspect the surface for any imperfections—once the finish is applied, they’ll become more visible. When everything is ready, you're set to begin the varnishing process.
Application
- Apply the coats of with a very clean cloth or a handkerchief in thin paper applying circular movement. Put a little each time and apply it as thin as possible, there should be no liquid residue on the surface of your wood.
- Apply a total of 4 to 6 coats with a couple of hours between coats. When done wait 2 days.
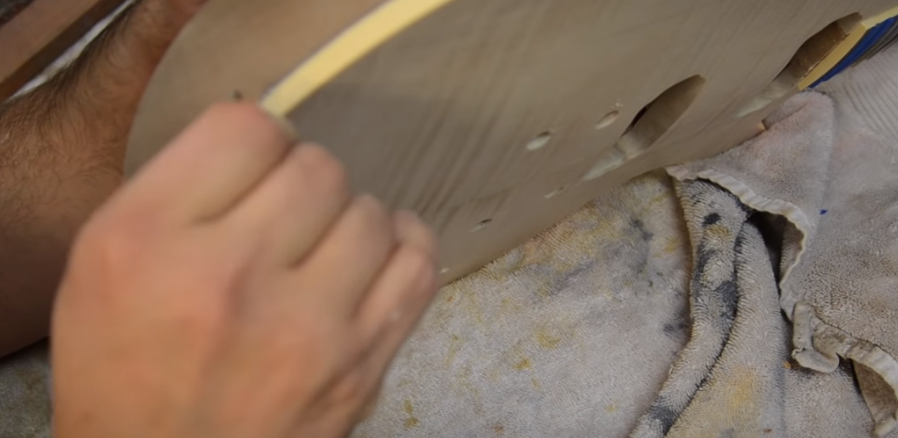
- Then sand it with a P1000 sanding paper.
- Then apply 2 new coats waiting 2 hrs between the coats. Wait 1 day and sand with P1200.
- Apply 4 last coats, wait 1 day and sand to P1500.
- Let it cure for around a week.
A basic rule is that if you can still smell the solvent, the finish is still curing. Let the piece cure. It will be worth it to have a strong finish for many years to come.
Take care of the binding of the guitar body (in the event that your body does indeed have bindings!): Your relief may be slightly colored with which case you just have to scrape it lightly using a cutter blade.
Note: this finishing kit does not include a final polish which is optional. In fact, even without it, you should already have obtained a very nice result. However, if you want more shine and an even smoother surface we invite you to undertake this final finishing step. Buffing can be divided into 3 steps, level sanding to remove the last defects, sanding for polishing and finally buffing. This will not be discussed further in this user guide.
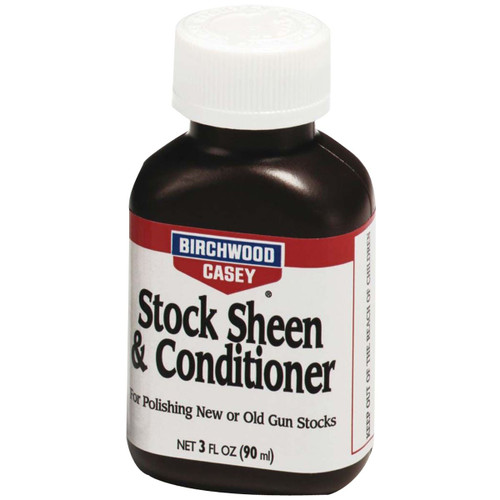
TRU-OIL CONDITIONING
Now that the varnish has fully cured, the surface of the guitar may feel too glossy or slightly uneven. To achieve a professional, smooth, and natural finish, the next step is to refine and condition the surface.
A well-applied varnish protects your guitar, but achieving the perfect feel requires one last step. helps smooth the surface, soften excessive gloss, and enhance the final look.
Preparation
Using is a straightforward process, but patience and precision will yield the best results.
Before starting, ensure that:
- The varnish has dried for at least 24 to 48 hours (depending on humidity and temperature).
- The guitar is free from dust and fingerprints.
- ou have a soft, clean cloth (preferably microfiber or cotton) for application.
Application
- Shake the bottle well to evenly distribute the conditioning agents.
- Apply a small amount of conditioner to your cloth—do not apply directly to the guitar.
- Using light circular motions, gently rub the product onto the guitar's surface.
- Let the conditioner sit for about 5 minutes to allow absorption.
- Take a separate dry, clean cloth and buff the surface, using light pressure, until you achieve the desired sheen.
- If necessary, repeat the process for a smoother feel.
For best results, work in small sections and avoid excessive pressure. The goal is to subtly refine the finish, not remove the varnish layer.
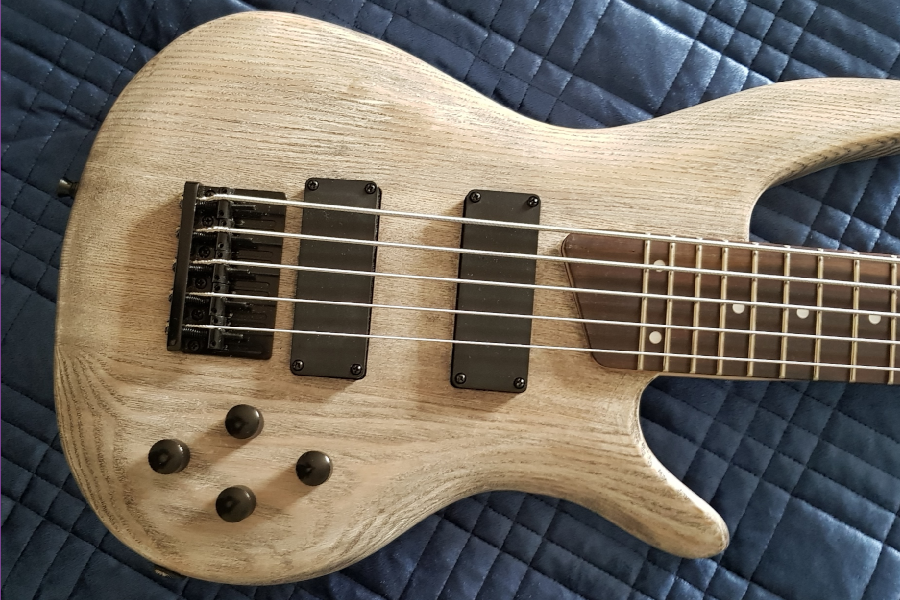
Once complete, your guitar will have a smooth, refined finish that enhances both aesthetics and playability. The surface will feel more natural under your fingers while maintaining protection against wear and humidity.
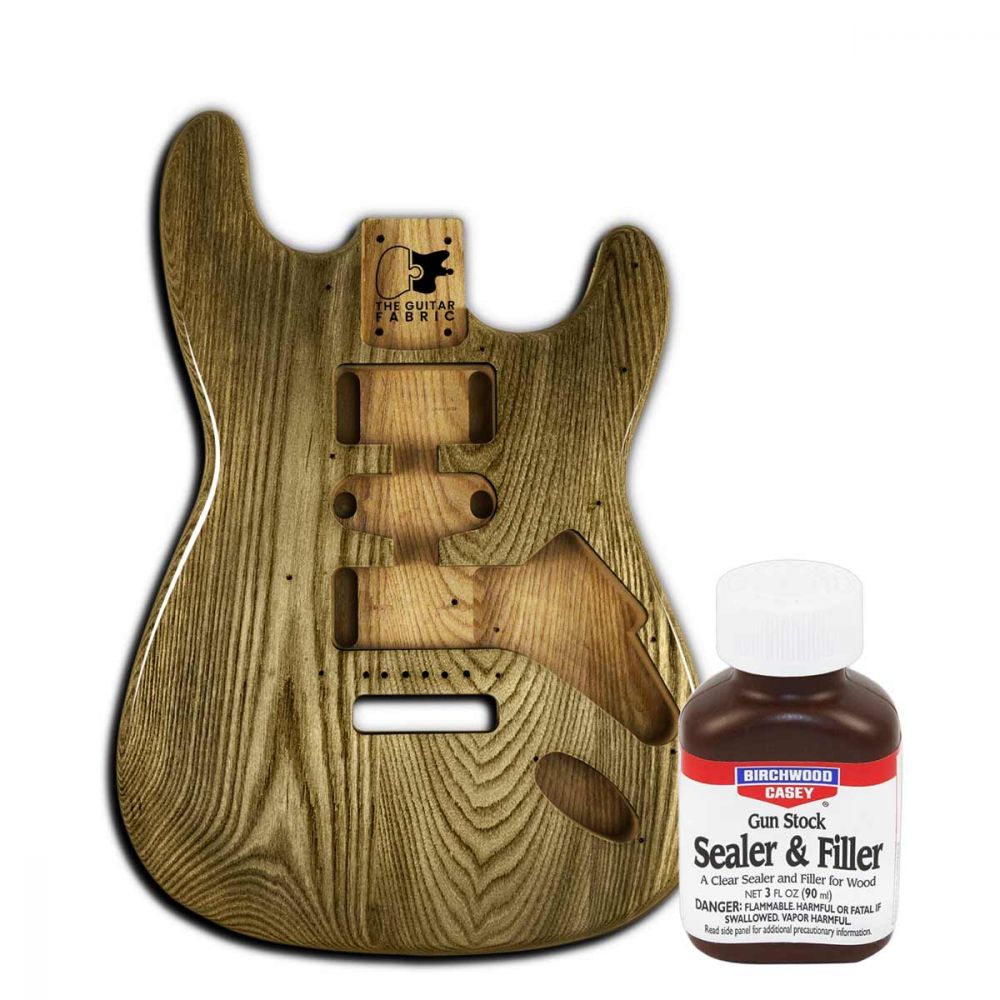
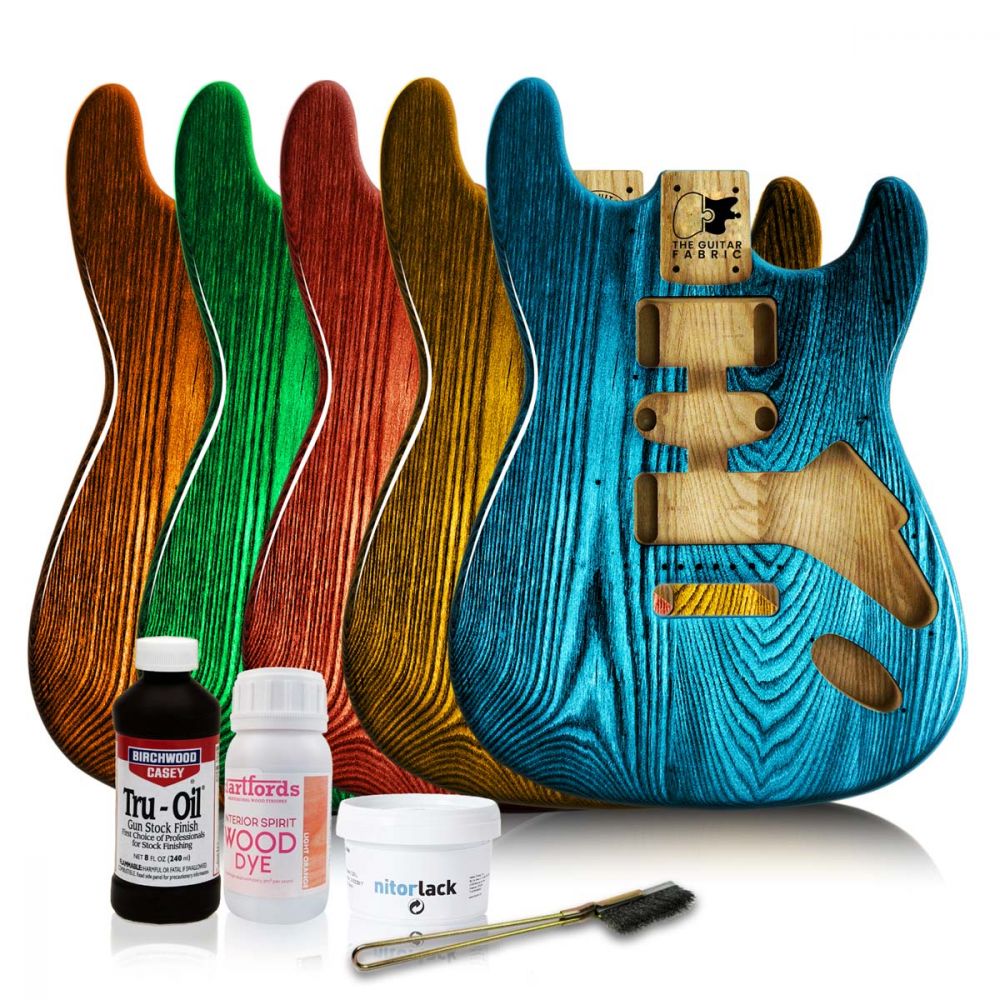
Related Products
From $52.70 was $56.67
To $69.03 was $74.22
Related Posts
- The Guitar Fabrik
- Jun 27, 2025
- 296views
IBANEZ CUSTOM BASS SHOWCASE
- The Guitar Fabrik
- May 29, 2025
- 427views
B.C. RICH CUSTOM GUITAR SHOWCASE
- The Guitar Fabrik
- May 1, 2025
- 178views
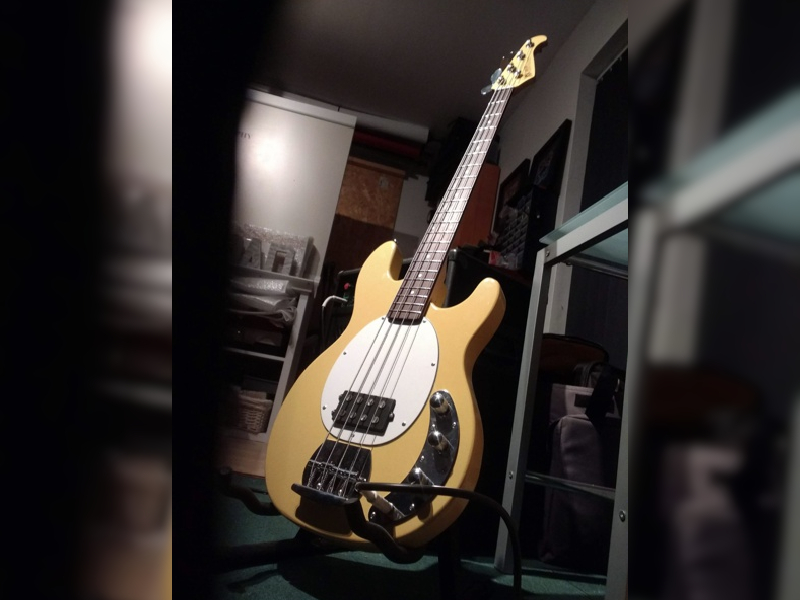
MUSIC MAN CUSTOM BASS SHOWCASE
- The Guitar Fabrik
- Apr 28, 2025
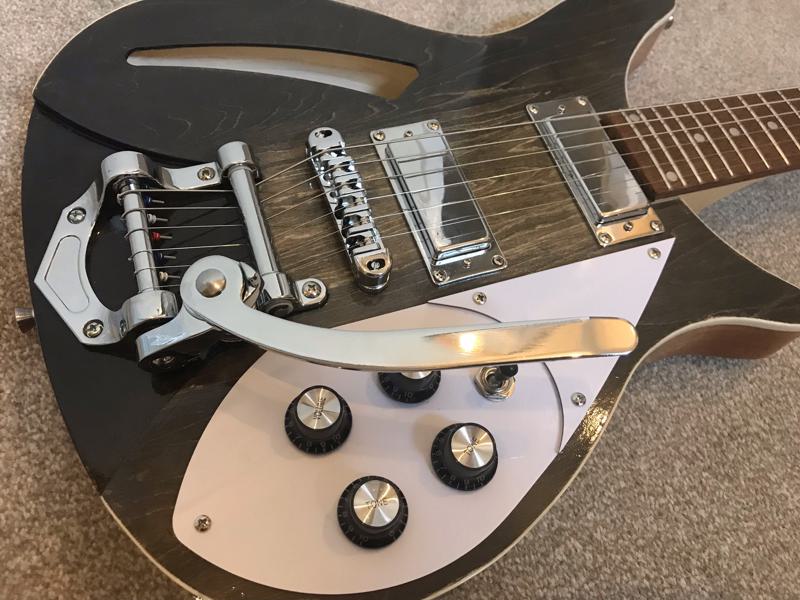
- 733views
RICKENBACKER CUSTOM GUITAR SHOWCASE
Related Products
From $52.70 was $56.67
To $69.03 was $74.22
Recent Posts