UK
UK FR
FR DE
DE IT
IT ES
ESPAINT YOUR GUITAR - OVERVIEW
- The Guitar Fabrik
- PAINTING USER GUIDE
- Aug 16, 2023 views
- 615

OVERVIEW OF THE STEPS TO PAINT A GUITAR
Creating your own guitar is a gratifying journey that demands meticulous attention to detail. While the essence and performance of the instrument remain unaffected, a premium finish becomes a testament to your craftsmanship. This guide provides a high-level overview of the process for achieving a high-quality finish for your guitar. Each painting step will be discussed in detail in other articles. Below are the general steps to paint a guitar:
- Working environment
- Wood preparation
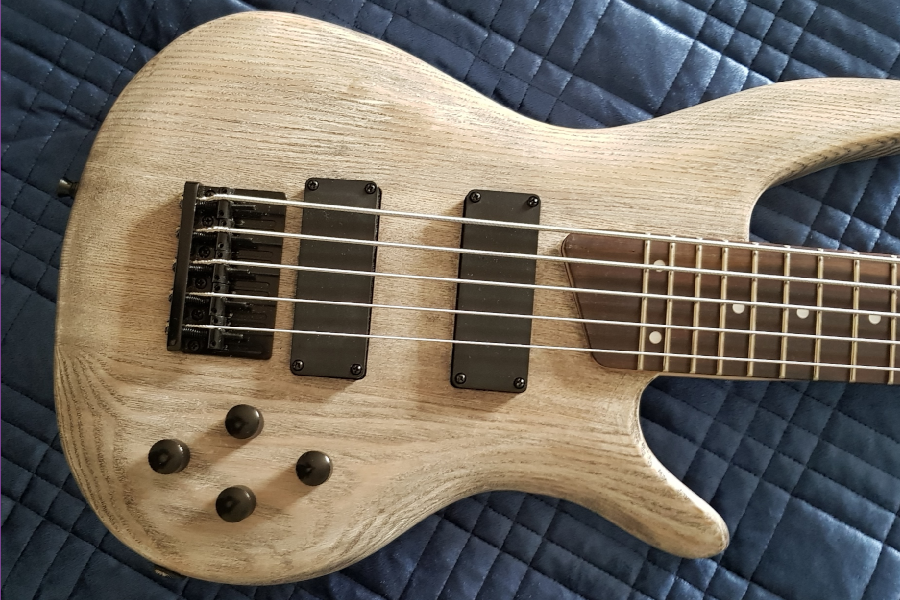
- Grain filling application: only for open-pore wood (ash or mahogany)
- Primer / Sealer: optional if using dye or if the wood has been grain filled.
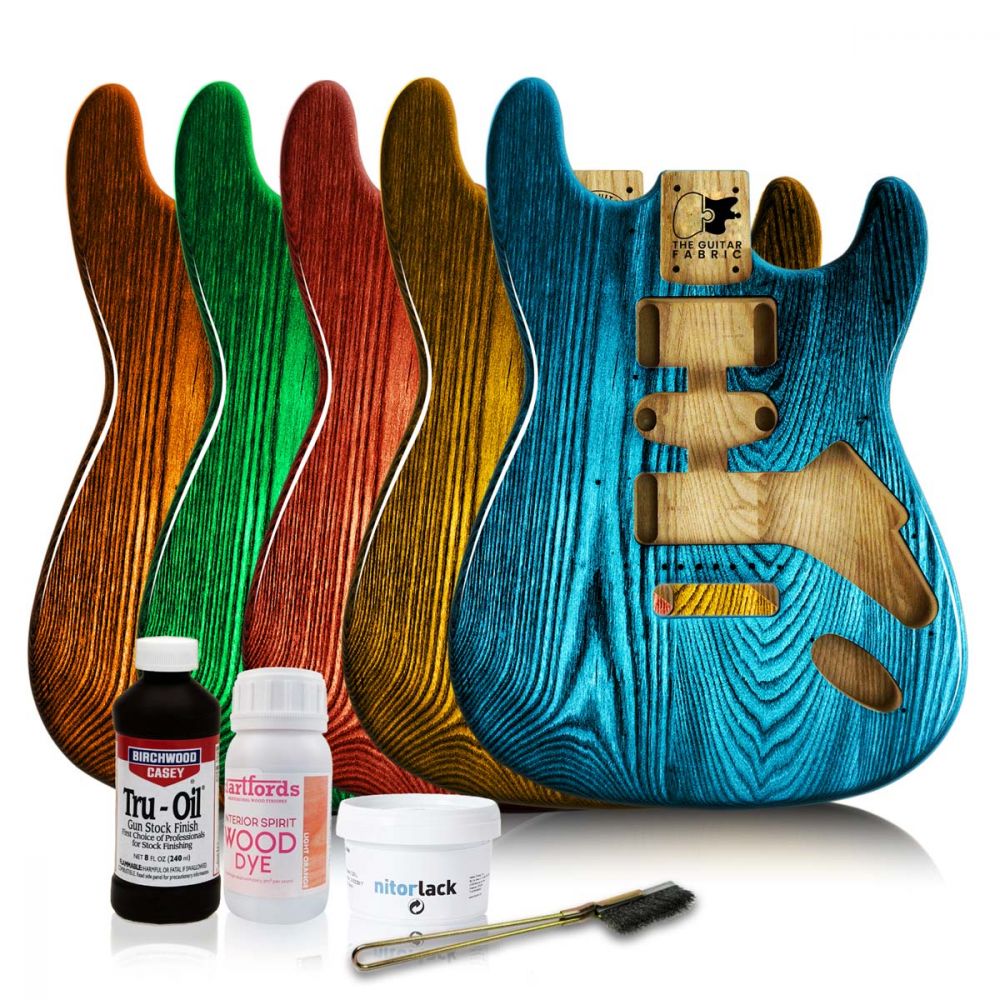
- Dye / Color paint coat: for wood coloration
- Varnish: absolutely needed to protect the wood. It can be a water-based varnish, nitrocellulose, Tru-Oil, or other varnish types.
- Polishing: optional, it allows a super gloss mirror finish with further protection (against UV, for instance)
Define Your Design
The very first step is to think and clarify how you want your guitar to look: are you looking for a natural finish with only varnish? Translucent? Opaque or metallic? A special effect? Once you decide, you need to assess which type of products will be the best to achieve your goal. Is it better to use nitrocellulose, polyurethane paint, water-based options, dye, or Tru-Oil? You can read our specific articles to help you decide.
Wood Preparation
Before diving into the finishing process, some crucial preparatory steps must be taken:
- Check for Glue Stains: Carefully examine your body and neck wood for any glue stains. Ensure a clean state before proceeding, as glue residue can mark the final outcome. Glue stains can be easily removed by gently spot sanding by hand using 600/800-grit sandpaper until the glue stain is no longer visible.
- For veneer such as flame, quilted, or spalted maple tops: if you decide to use dye and stain your body, use only a small amount of dye at each pass to prevent over-soaking and the formation of blisters.
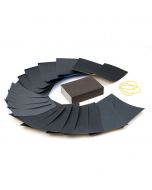
- Wood Sanding: Begin by sanding your guitar neck and body. Although your kit arrives sanded at P180 grit, further sanding to P240 and P400 is ideal for a smooth base. Employ rotating sanders—if you have one available for flat surfaces—and hand sanding for curves and intricate areas.

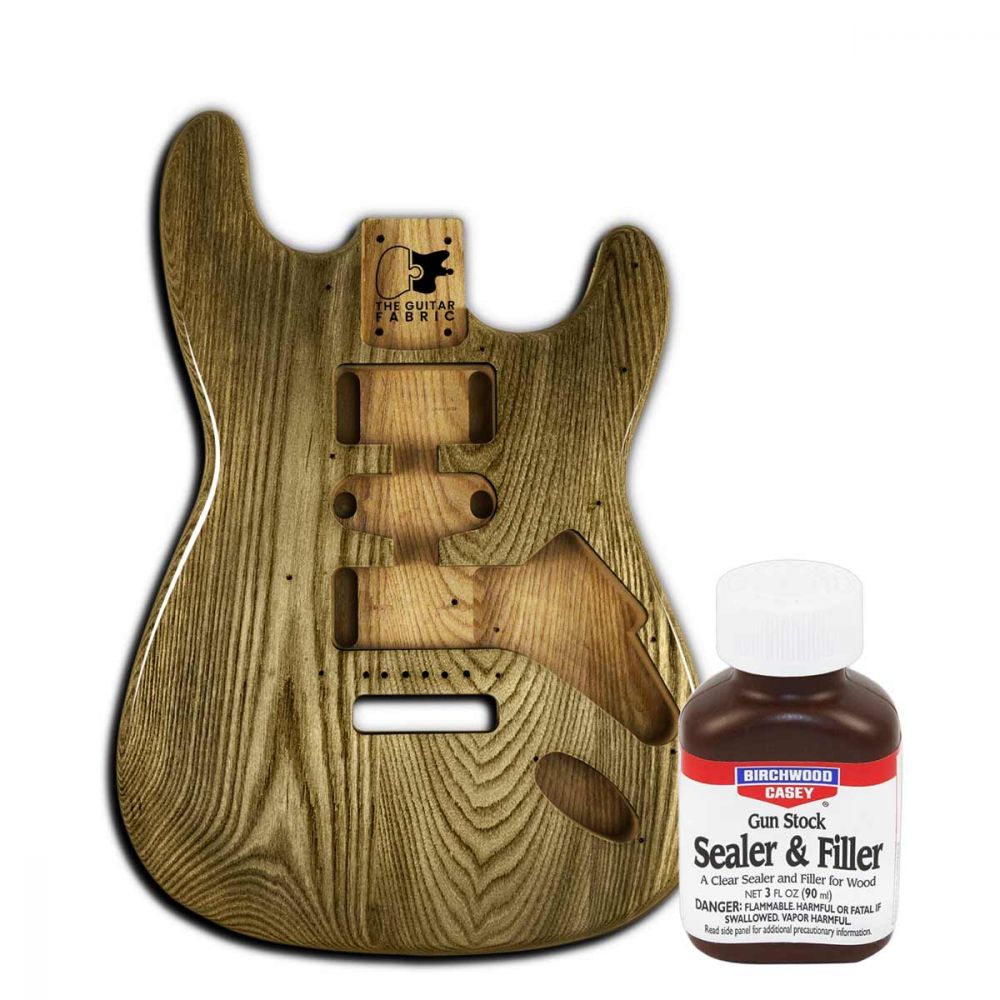
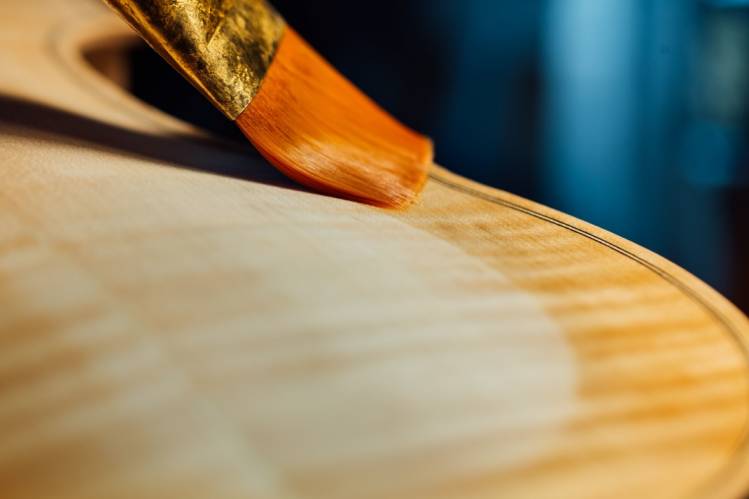
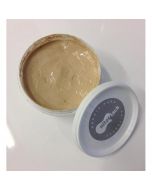
Perfecting the Canvas: Grain Filling
For open-pore woods like mahogany or ash, applying grain filler is essential to achieve a smooth and clean finish and avoid expensive paint consumption. Using a grain filler permits the filling of the wood's pores:
- Use a plastic card, old credit card, or a cloth to apply grain filler to open pores.
- Scrape off excess filler meticulously to avoid hardened residue. Lightly sand with P600 for a refined surface.
- Check the surface closely. Apply grain filler again in regions where the wood pores have not been properly filled, following the same process. Normally, no more than two coats of grain filler are needed.

Note that grain filling guitar wood is not necessary for maple, basswood, rosewood, and ebony.
Building the Foundation: Priming and Painting
Primer and paint contribute to a robust foundation for your finish:
- Primer: Apply primer, although it is not mandatory if you have already grain filled or your wood has its pores closed, it will save you paint and lead to an even smoother finish.
- Color Lacquer: Aim for 2-4 coats for desired color intensity. With nitrocellulose, sanding between coats is unnecessary unless drips or runs are present.
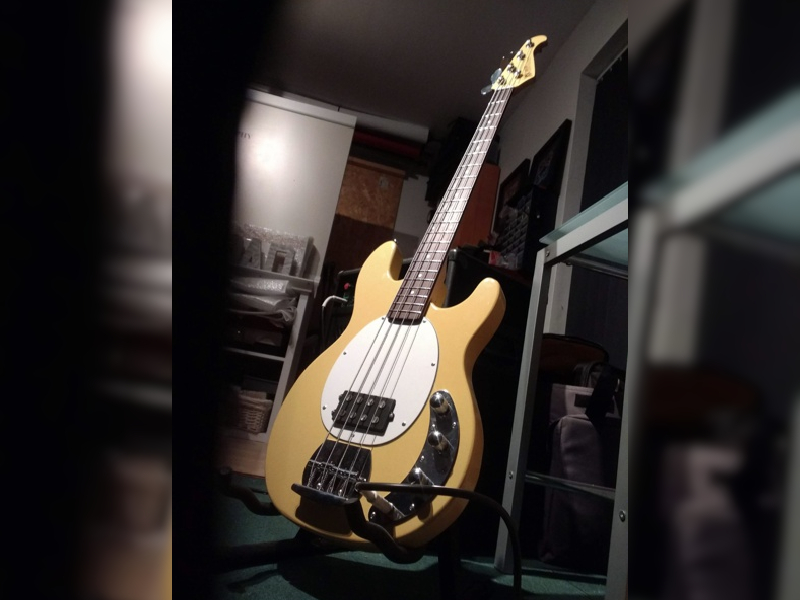
- Neck Color Coat: Tailor your neck's finish according to your preference—whether it's natural, vintage, or painted.
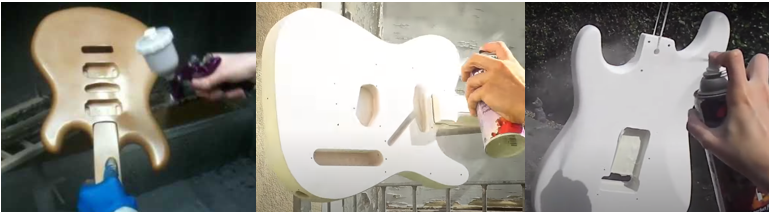
Varnishing for Protection and Luster
The varnishing step not only enhances your guitar's appearance but also shields it over time:
- Body Varnish: Employ the same spraying technique used for color coats. Apply 4-6 varnish coats, allowing a week's drying time before polishing.
- Neck Varnish: Prepare for varnishing by carefully masking areas like the nut, binding, and fingerboard; consider avoiding varnish on the fingerboard due to potential stickiness. Remember safety measures when using spray paint. Anticipate a total of around 4 to 7 coats for a complete finish. The use of a grain filler and/or sealer will reduce the number of coats needed.
Note that between coats of paint and varnish you might need to sand from P600 to P1200. Read specific articles on the subject for more information.
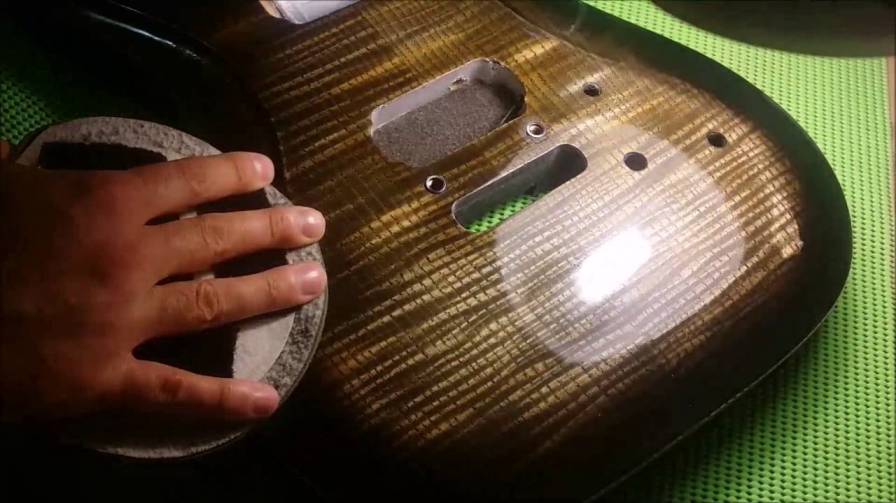
Achieving the Final Shine: Polishing
Polishing is optional but contributes to a mirror-like gloss:
- Sanding: After a week of varnishing, lightly sand with non-loading 1200-grit sandpaper. Use a rubber eraser to maintain the contours while sanding with the grain.
- Fine Sanding: Follow up with 1200-grit sandpaper, using water and dishwashing detergent as a lubricant. This removes previous sanding marks.
Elevating the Shine: Polishing Compound (Optional)
- Sanding Alternative: Instead of proceeding with fine sanding, you can opt for a polishing compound to achieve a brilliant finish.
- Application: Apply the polishing compound sparingly, using gentle pressure initially. Gradually reduce pressure as the gloss intensifies.
- Progressive Grits: Employ polishing compounds with varying grits, starting from around 1000 and progressing to 2000-2500.
Your Immaculate Creation
This is high-level information if you want to paint your guitar in a standard way. However, additional clarification will be needed if you want to dye your guitar or aim for specific finishes as proposed in our guitar paint set products. Read our other articles or the painting user guide for further clarification on each step. Remember, our online store offers a range of finishing products, ensuring compatibility and providing the best quality-price balance. Our experts are always available for any clarification needed. Happy building and creating your masterpiece!
Related Products

From $19.74 was $39.27
To $166.70 was $212.18

From $34.15 was $52.64
To $200.45 was $233.22
Related Posts
- The Guitar Fabrik
- Jun 27, 2025
- 296views
IBANEZ CUSTOM BASS SHOWCASE
- The Guitar Fabrik
- May 29, 2025
- 427views
B.C. RICH CUSTOM GUITAR SHOWCASE
- The Guitar Fabrik
- May 1, 2025
- 177views
MUSIC MAN CUSTOM BASS SHOWCASE
- The Guitar Fabrik
- Apr 28, 2025
- 733views
RICKENBACKER CUSTOM GUITAR SHOWCASE
Related Products
From $19.74 was $39.27
To $166.70 was $212.18
From $34.15 was $52.64
To $200.45 was $233.22
Recent Posts