UK
UK FR
FR DE
DE IT
IT ES
ESAPPLY OUR DECALS ON GUITAR'S HEADSTOCK
- The Guitar Fabrik
- GUITAR DESIGN
- Mar 15, 2023 views
- 2131
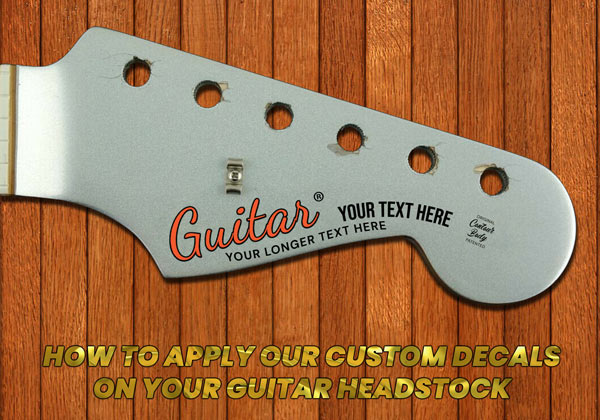
CREATE & INSTALL CUSTOM DECALS ON A GUITAR HEADSTOCK
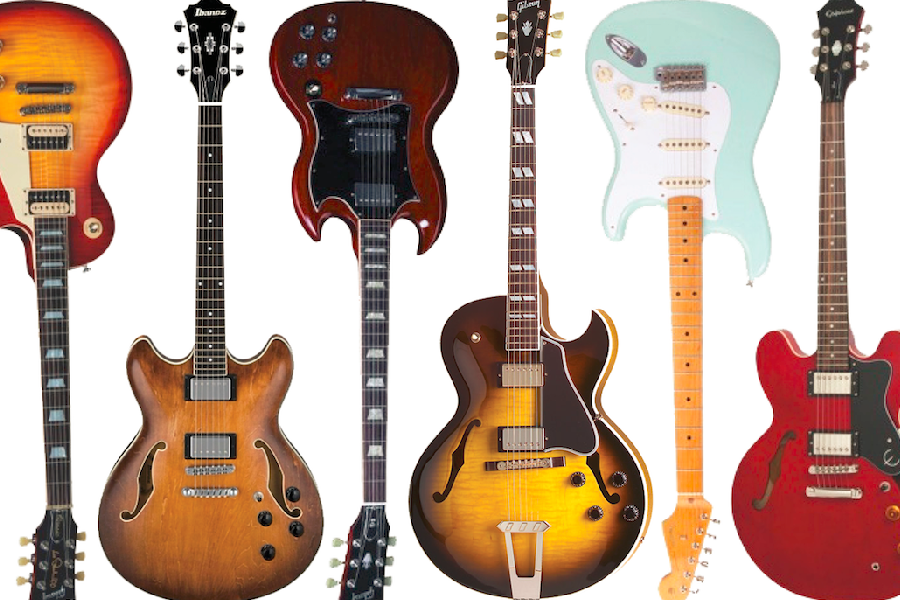
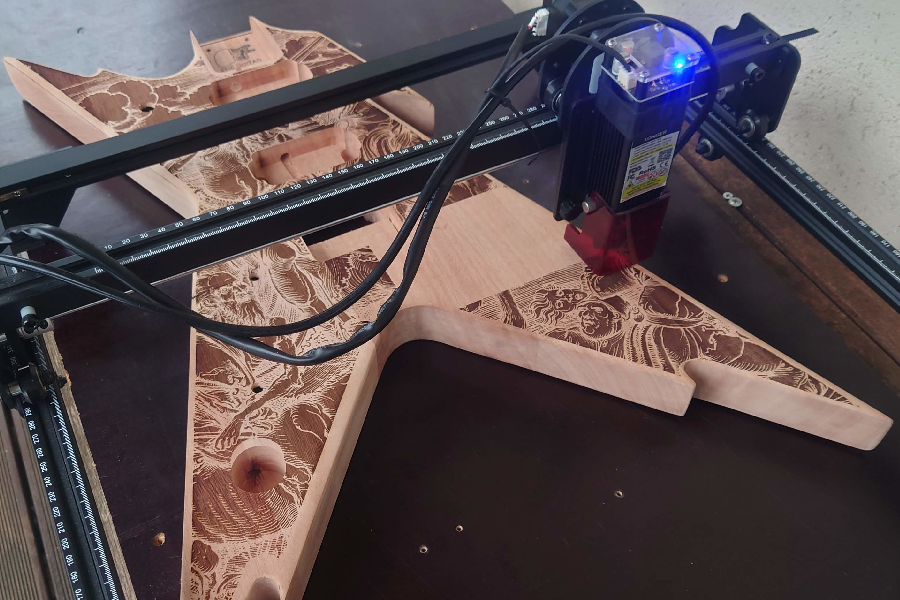
Adding guitar headstock decals is something you might consider for any guitar you build, whether it's from our guitar kit or starting with a blank piece of wood. A decal serves as the final touch and the signature logo of your creation, making it an important aspect of the design. Guitar Fabric offers high-quality decals that enable you to easily create beautiful headstock designs. In the following section, we will explain how to create custom decals using our products and how to install them on your guitar headstock once you receive them. Finally, we will provide a few examples of satisfied customers who have graciously shared their custom decals with us.
How to Create Your Own Custom Decals Using Our Products
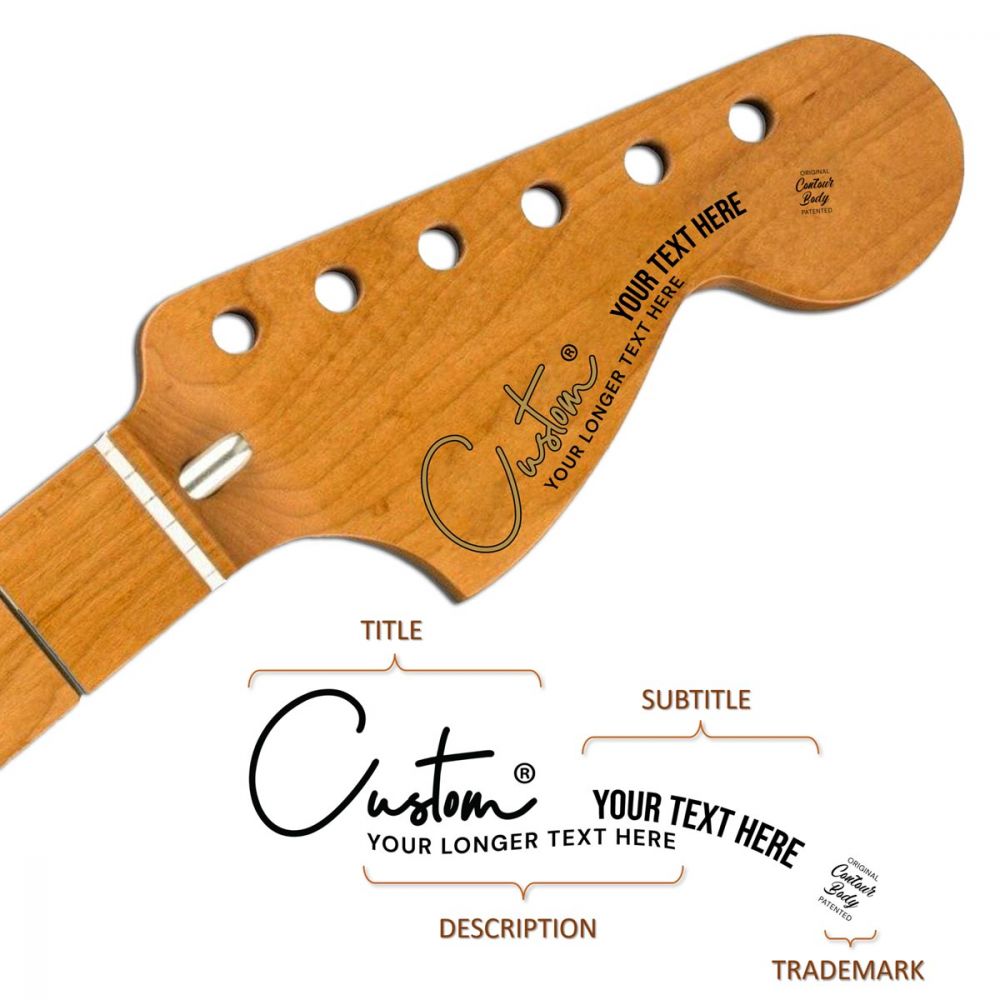
You can find the products to create custom decals for guitar headstocks in the "Headstock Guitar Decals" category on our website. We offer various fonts and styles of headstock decals, which serve as template designs. Once you've chosen one, you'll need to fill in the required information according to the guidelines provided in the details section of each product. This includes details such as color, title, subtitle, and serial number, as specified by each template's requirements. Note that some information may be optional. Additionally, we offer special features such as receiving a preview of your decals to ensure they meet your needs, or purchasing a second decal at a discounted rate.
Please review the provided images of each product, examine the font letters, and consider our examples to visualize how your decals will appear. This will help you select the most suitable template and provide the appropriate information.
Once you've made your selection, you can expect to receive your decals in approximately five working days. They will be high-quality decals designed by a design expert using a semi-automatic process. The decals will arrive pre-cut. The remaining step will be to varnish and apply them to your guitar's headstock.
Installing a Headstock Guitar Decal: Pre-requisites
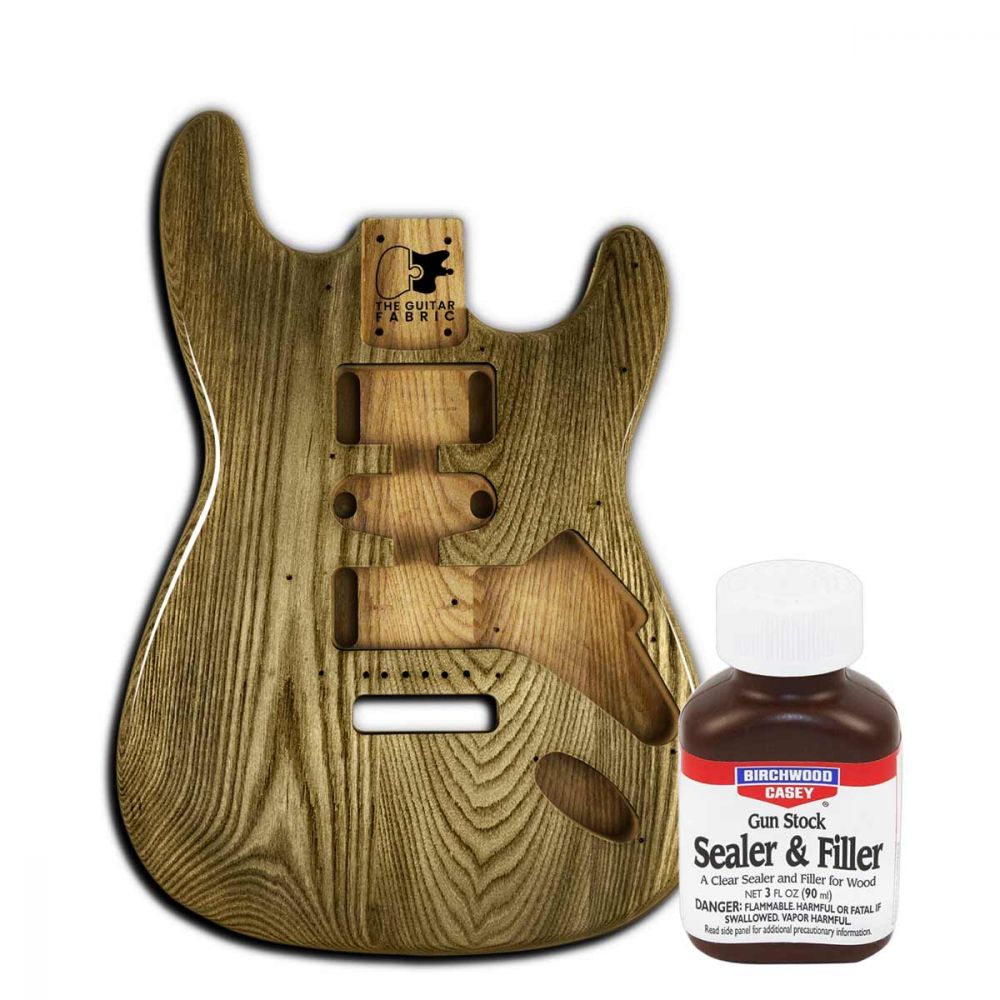
Before applying your waterslide decals to your guitar's headstock neck, ensure that your neck is properly varnished and prepared. Whether you've built a guitar using our kit or have an existing neck you wish to add a decal to, make sure the neck and headstock are finished appropriately. To install your decal logo on the head of the guitar neck, you'll need:
- Varnish in spray (or spray gun)
- Recipient of Water
- P1000 to P1500 wet sanding paper
Preparing the Decals
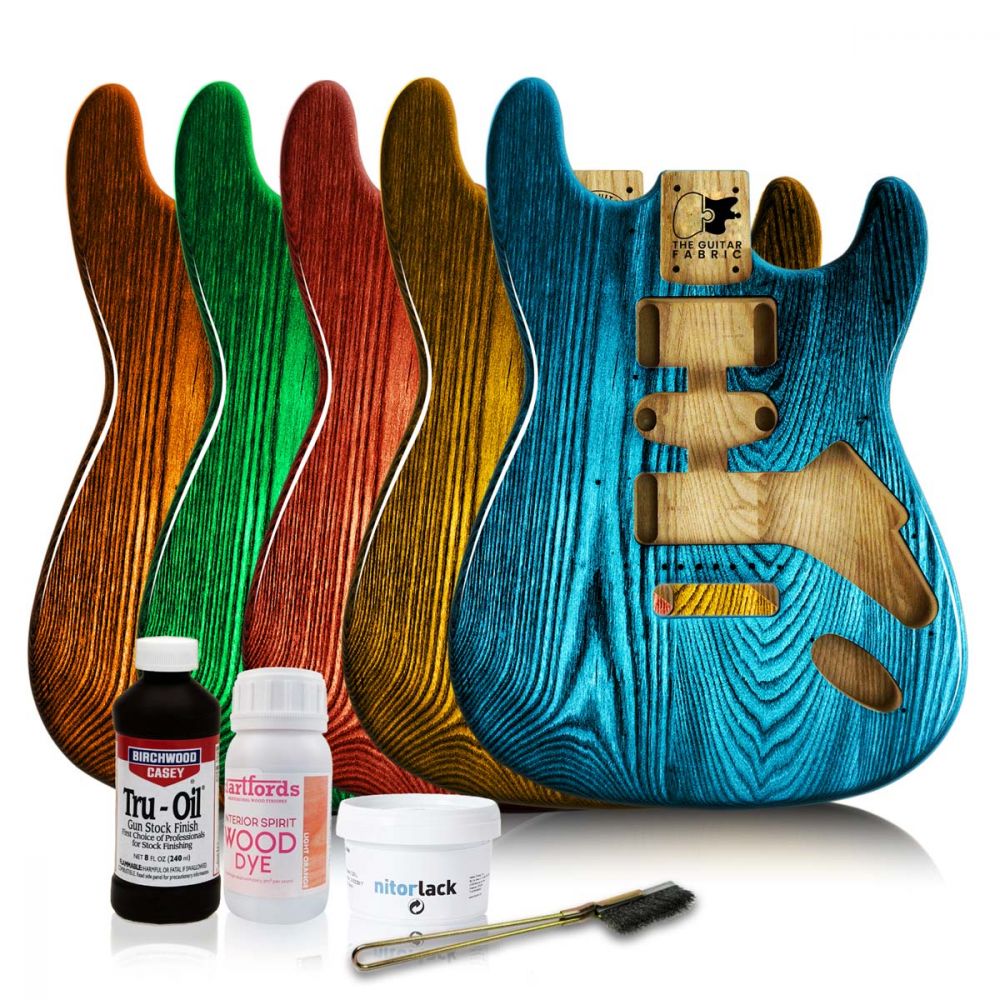
To install the decals on your headstock neck, you'll first need to varnish the side of the decals where your custom logo is printed. We recommend using the same varnish you used to finish your neck, especially if you're building a guitar from our kit. For instance, if you used water-based varnish for your neck, you can also use water-based varnish for the decals.
However, note that you have to use a spray or a spray gun! Using a cloth or brush will damage the decals.
Here's the process for varnishing your decals:
- Apply a thin layer of varnish.
- Wait 2-3 hours.
- Apply a second layer of varnish on your headstock decals.
- You can use a hair dryer to speed up the drying process, but natural drying typically yields better results.
- Apply a total of 3 to 4 layers of varnish on your decal.
- Once finished, wait at least 12 hours for the varnish to fully dry.
Following these steps will ensure your decals are properly varnished and ready for application onto your headstock neck.
IMPORTANT: Varnishing your decals will create a protective layer and is very important. If you don't do this, the color will melt with the water in the next steps.
Preparing the Headstock Neck
Once the top of your decals has been varnished, you should prepare the neck headstock (which should already be varnished). We advise lightly sanding at P1500 and removing any dust on the headstock of your guitar. The surface of the headstock should be clean.
Watering Your Decals
At this stage, with a clean varnished headstock neck and a varnished logo decal in hand, it's time to apply the decal. Begin by filling a container, such as a bowl, with room temperature water (ideally between 15 to 25°C), ensuring there's enough to fully submerge the decal. After immersing the decal and its backing in the water for about a minute, delicately remove it. Now, proceed to carefully apply the decal onto your headstock neck.
IMPORTANT: Move the decal with caution to ensure the logo itself does not break. However, if you have properly varnished the decals in the previous step, they should be quite robust. It is also possible that the decals start to slightly separate from their paper support, but ideally you want to keep them on the water support until the very end as this way it will be easier to install the decals on your guitar neck.
Applying the Decals on Your Clean Varnished Headstock Neck
The neck should be laid down. Then place your logo decal along with its support close to where you want your decal to be on your headstock. From there, using a finger, gently move the decal to its final position on the neck. If a fold appears, you can later use a cloth to remove any wrinkles. Once you're satisfied with its position, wait until the water has evaporated. You can also wait 1 hour and dry the remaining water with a cloth.
At this stage, you should have your headstock decal well integrated onto your neck. Still, we propose two final steps to fully integrate the headstock decal: applying another layer of varnish and wet sanding.
Final Integration of the Decals on the Guitar Headstock
Now that the logo decal is dry and well integrated into the neck, you can improve its integration to make the borders less visible by following these additional steps:
- Varnish the neck headstock with the integrated decal. Here, 2 to 3 layers of very thin varnish are enough. Remember to wait 4 hours between each layer and half a day to fully dry once you have applied your last varnish layer.
- Finally, you can wet sand around the decal with P1500, paying particular attention to the borders to make them fully integrate and become invisible.
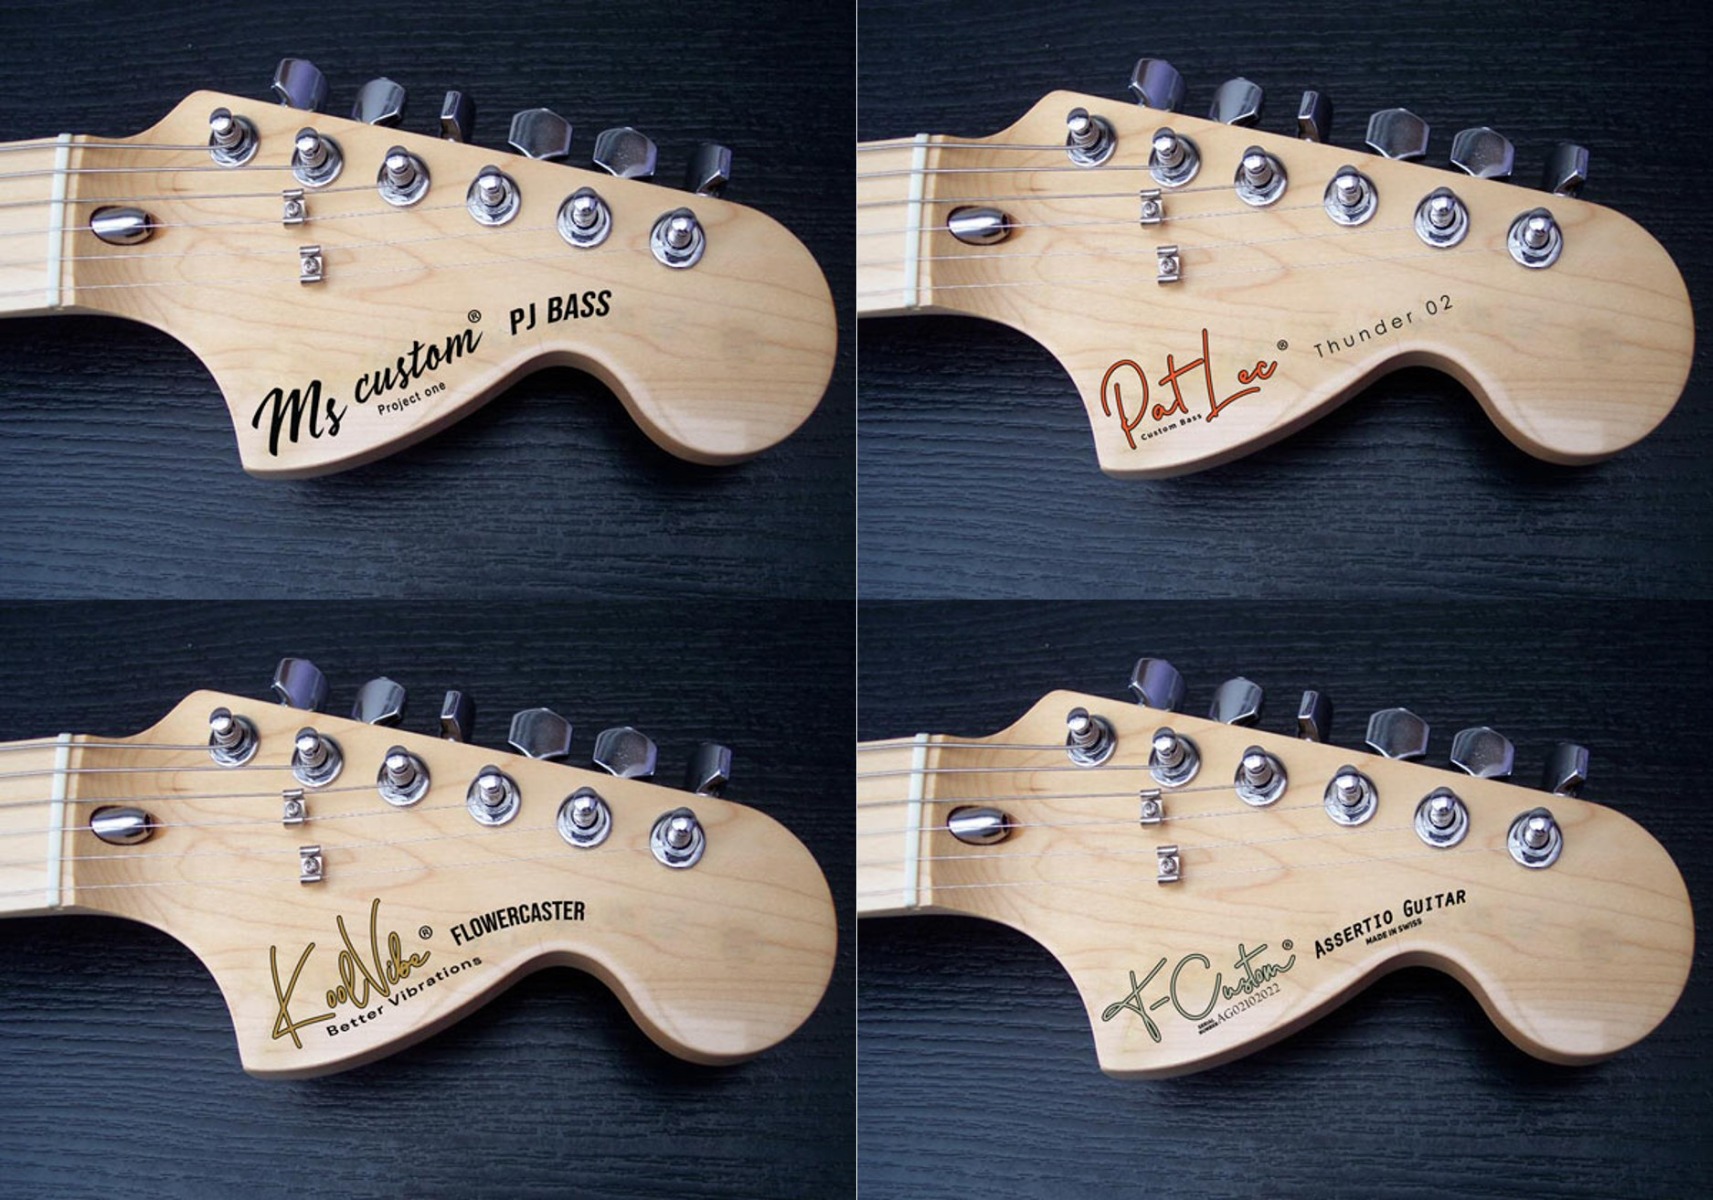
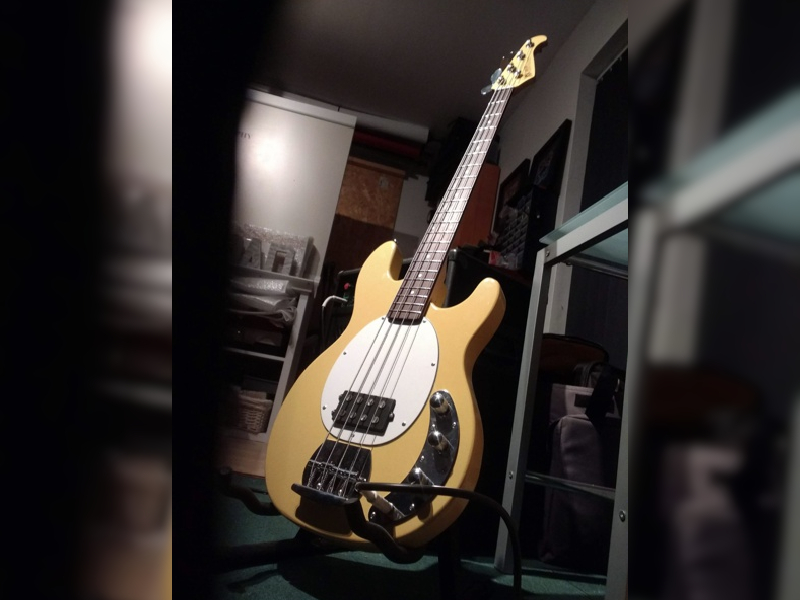
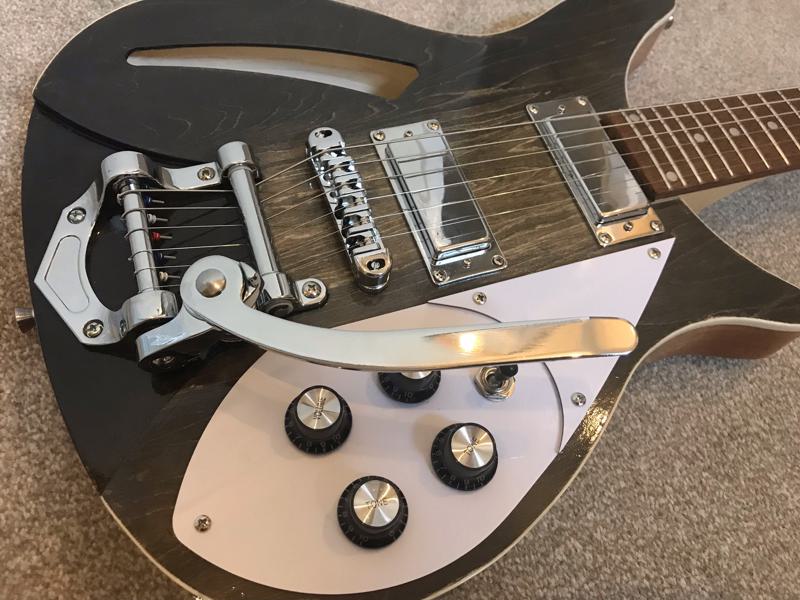
Examples of Custom Decals Created for Our Customers
Here are a few examples of customer headstock decals created using our product tool.
Related Products


Related Posts
- The Guitar Fabrik
- Jun 27, 2025
- 296views
IBANEZ CUSTOM BASS SHOWCASE
- The Guitar Fabrik
- May 29, 2025
- 427views
B.C. RICH CUSTOM GUITAR SHOWCASE
- The Guitar Fabrik
- May 1, 2025
- 177views
MUSIC MAN CUSTOM BASS SHOWCASE
- The Guitar Fabrik
- Apr 28, 2025
- 733views
RICKENBACKER CUSTOM GUITAR SHOWCASE
Related Products
Recent Posts