UK
UK FR
FR DE
DE IT
IT ES
ESESSENTIAL TOOLS TO BUILD A GUITAR KIT
- The Guitar Fabrik
- BUILD, SETUP & TUNE GUITAR
- Aug 28, 2023 views
- 339
LIST OF TOOLS TO BUILD YOUR GUITAR KIT
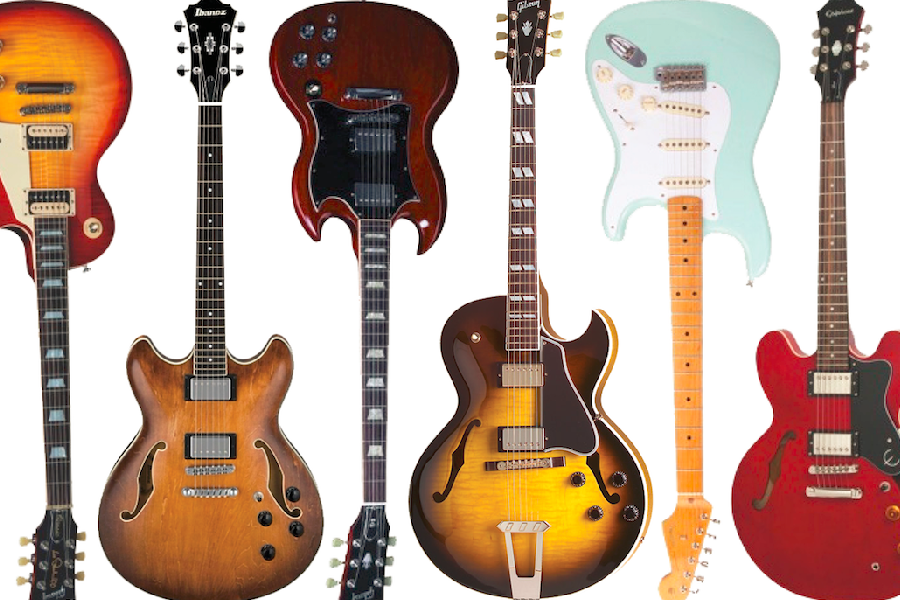
Are you ready to transform your DIY guitar kit into a stunning masterpiece? Before you pick up that brush or spray can, make sure you're equipped with the essential tools and insights that will set you up for success. Achieving a professional-quality finish requires careful preparation, and our comprehensive guide is here to walk you through the process step by step.
Gathering the right tools is the first step to ensuring a flawless finish. While you can always explore more advanced techniques as you gain experience, we've outlined the strictly necessary tools you'll need to paint and build successfully one of our guitar kits.
Essential Tools for Building Your Guitar Kit
| Tool | Description | Image |
|---|---|---|
| Screwdrivers | During the installation of all the parts—mechanics, pickups, pickguard, bridge—you will install many screws. Therefore, we suggest a good and robust screwdriver to make your life easier. | 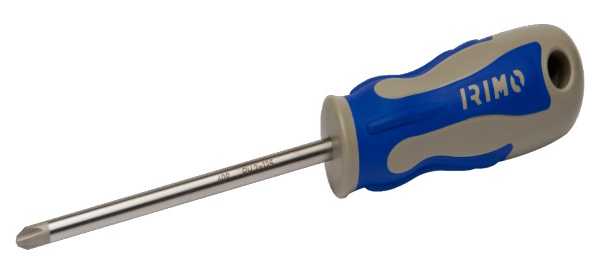 |
| Hand Drill (or Drill Press) | While all the cavities are made, our guitar kits have pre-drilled only tune-o-matic bridge and body neck pocket for a bolt-on guitar kit. Therefore, you will need to pre-drill using a wood drill before installing any parts. This step is really important to avoid breaking any screw in the hard solid wood of our kit and to allow accurate positioning of the various guitar parts. It can also be helpful for screwing as long as you control the rotation of your hand drill. | 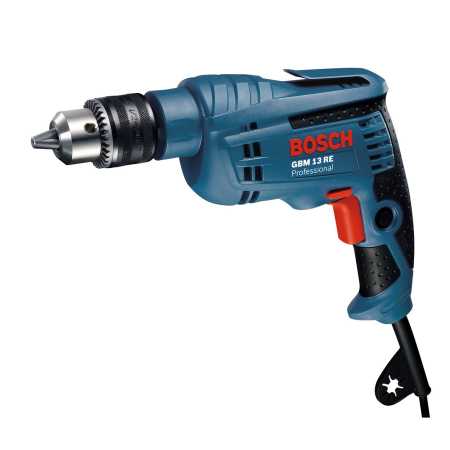 |
| Copper Tape | We strongly advise installing copper tape in the wiring cavities as it removes electromagnetic interference and enhances the sound quality of the guitar. | 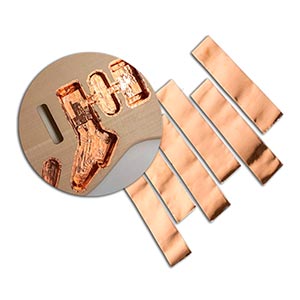 |
| Wood Glue (for set-in guitar neck) | For guitar kits with a set-in neck, you need to glue the neck to the body. For this, wood glue such as Titebond is required. | 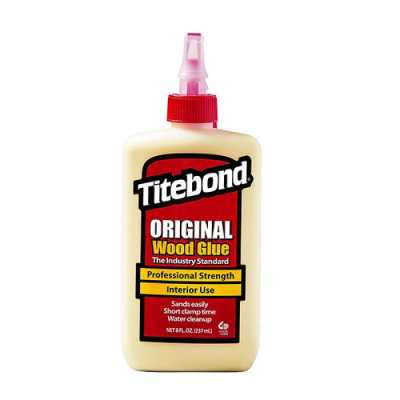 |
| Clamp (for set-in guitar neck) | If your selected guitar kit has a set-in neck, you need to glue the neck and clamp it for 48 hours. Make sure your neck is well integrated with the body. In particular, check the scale length, alignment, and string action (not discussed further in this section). Remember, once the neck is glued, it is nearly impossible to remove it from the body! | 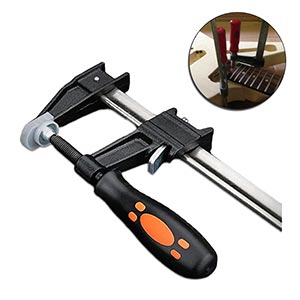 |
| Files (optional) | Files are not absolutely necessary but are useful for some simple and slight adjustments of your guitar kit. | 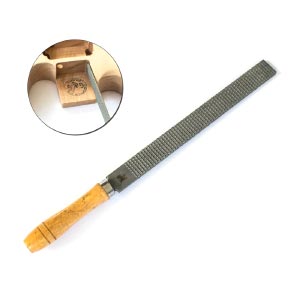 |
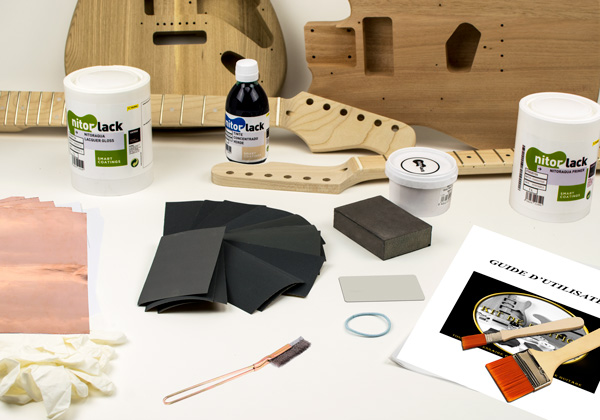
Tools for Painting & Finishing Your Guitar
| Products | Description | Image |
|---|---|---|
| Vacuum or Air Spray | This is optional. But remember that you will need to remove the dust during the sanding phases. | 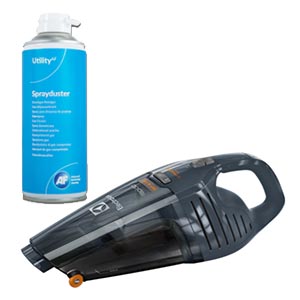 |
| Masking Tape | Masking tape is needed to mask off specific areas you don't want to paint, such as the fretboard or bindings. | 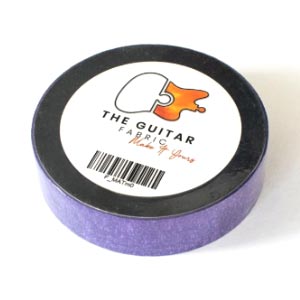 |
| Sanding Paper Set (wet) | During the various phases of the guitar finish, prepare the guitar's surface with varying grits, including 400, 600, 1000, 1500, and 2000. This will allow for a smooth result and ensure that previous paint coats adhere well to the new one. | 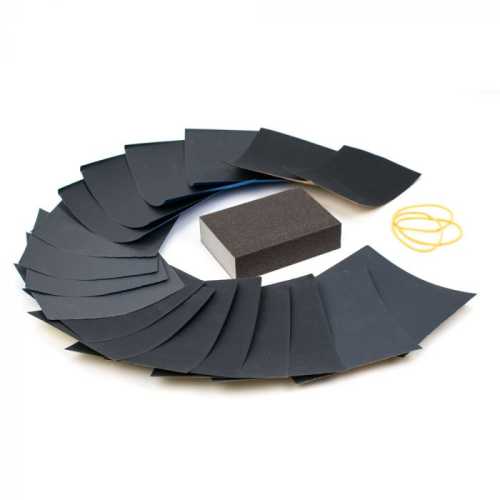 |
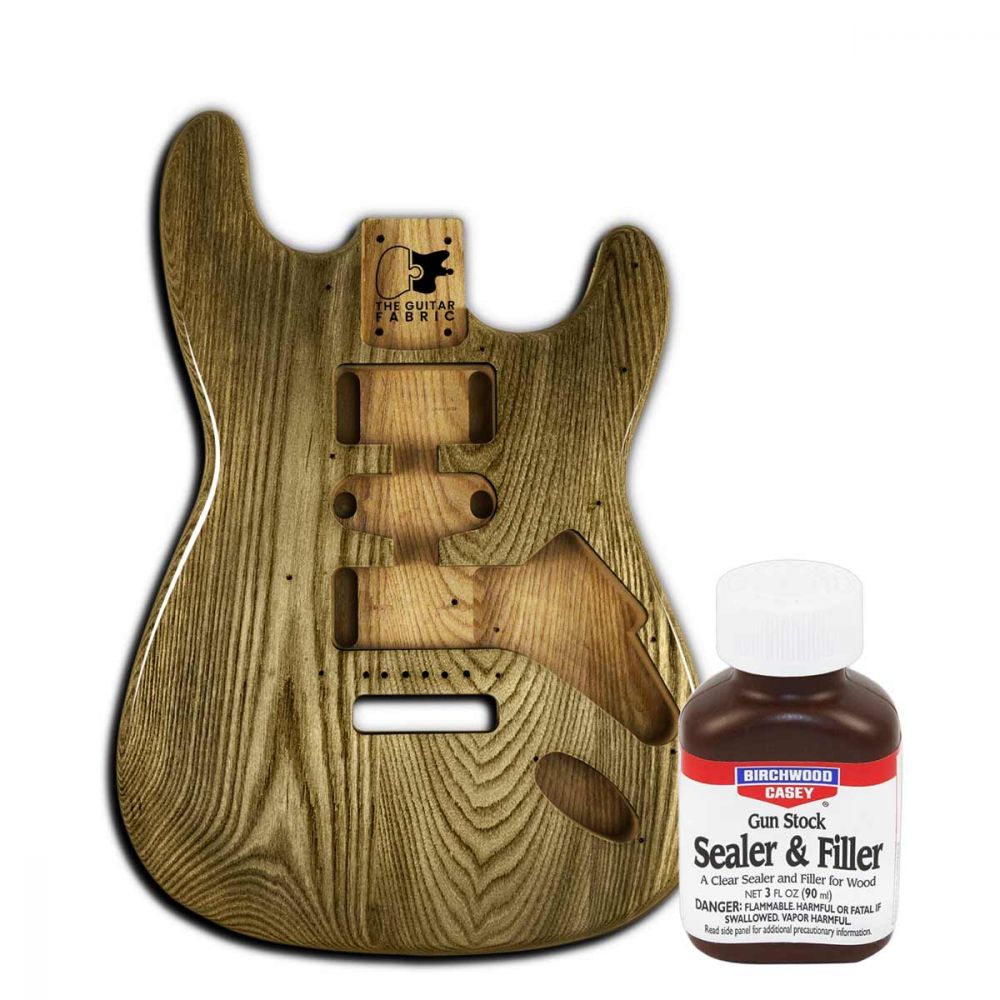
| Grain Filler (optional) | The grain filler—optional—will be used to close the open pores of the wood. Note that ash and mahogany fit in the open-pore wood category but not maple wood. Grain filler can also be used to stain your wood or create special effects such as the ceruse effect. | 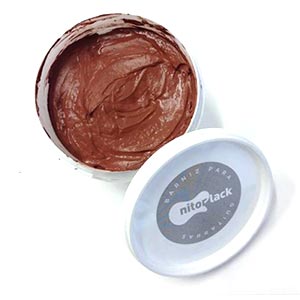 |
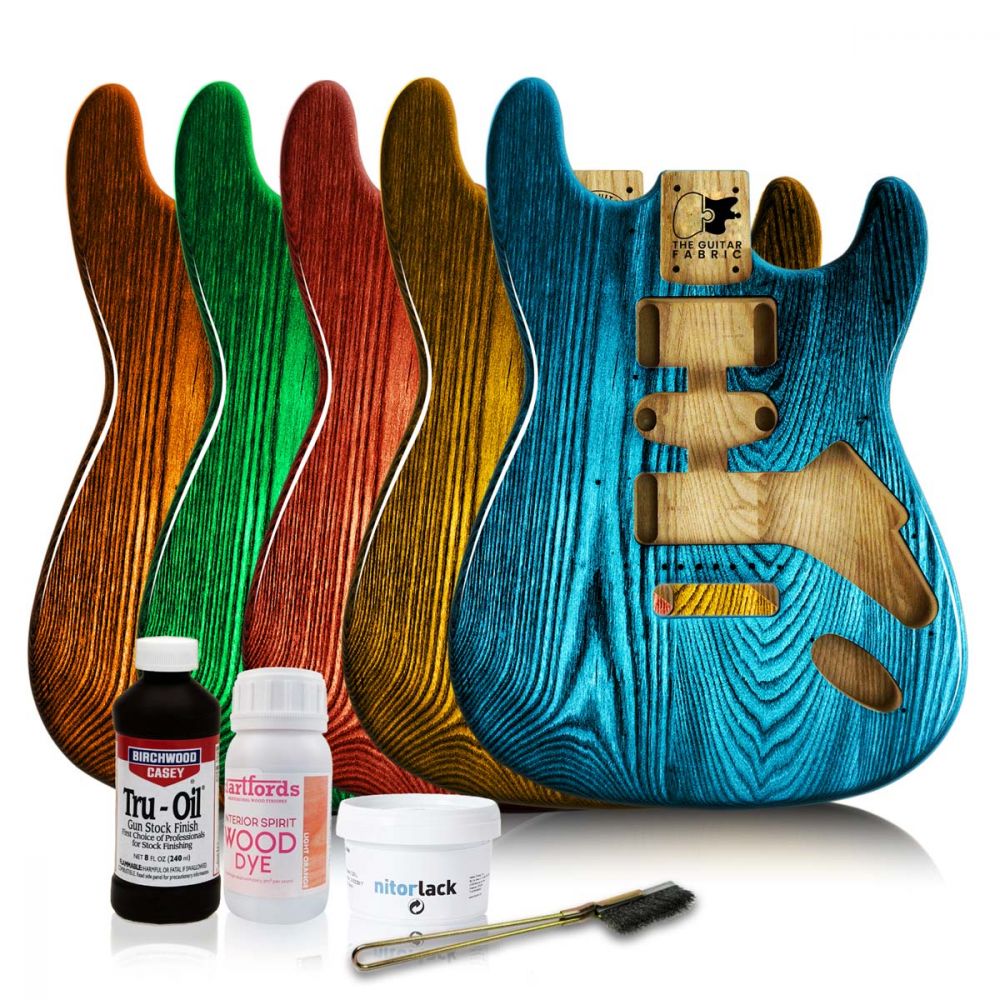
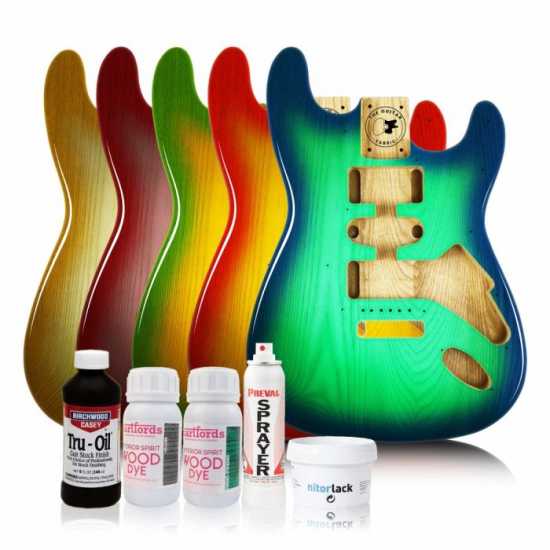
| Paint or Dye (optional) | Using dye on wood accentuates natural grain patterns, offers color customization, and maintains transparency for a subtle look, while paint provides complete coverage, ensures consistent color, and offers protection against damage. Depending on your selected product, you might also need a brush or cloth to apply the paint (if you don't use a spray can). You might also want gloves or even a respiratory mask to protect yourself if you use Nitrocellulose and paint in a place that is not well-ventilated. | 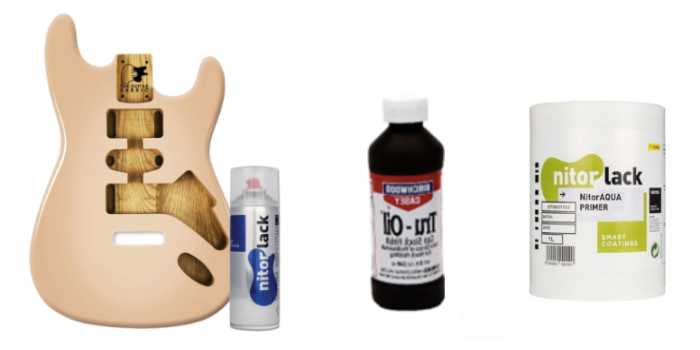 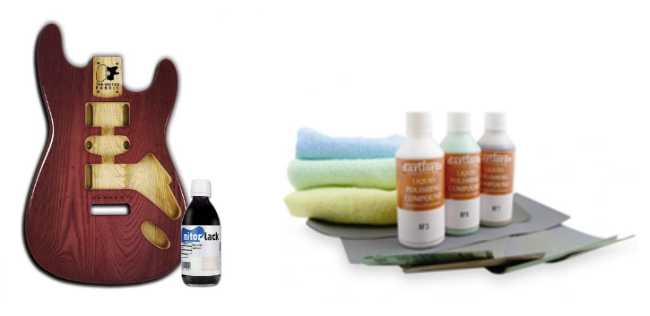 |
| Varnish or Tru Oil for top coat | Varnish or Tru Oil provides a robust layer that shields wood from moisture, UV rays, and daily wear, preventing damage such as warping or rotting. It maintains the quality of the wood over time. It also enhances the wood's appearance by highlighting its natural beauty and grain patterns, offering a glossy, semi-glossy, or matte finish. Note that proper surface preparation and application are vital for optimal results. | 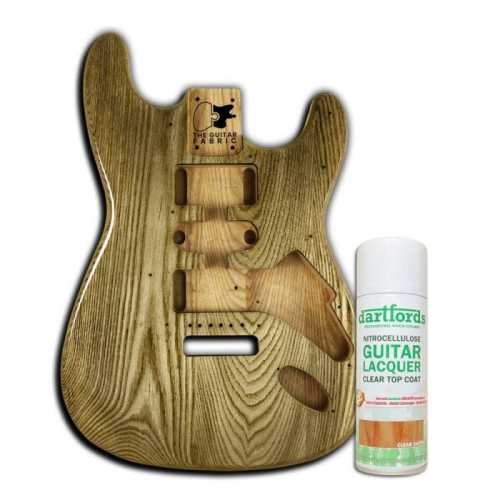 |
For simplicity, you can also select one of our ready-to-use painting sets that match what you want to achieve. It will contain all the products—grain filler, dye or paint, and varnish—for you to achieve what you desire.
For advanced builds and creating a highly professional guitar, there are other tools to consider, such as fret leveling beams, string action gauges, and polishing pads. However, these are not absolutely necessary, and you can already achieve a great guitar using our guitar kit and the products and tools defined above. The usage of other tools will be discussed in another topic for advanced builders.
Related Products
From $28.19 was $55.31
To $197.07 was $229.84
Related Posts
- The Guitar Fabrik
- Jun 27, 2025
- 296views
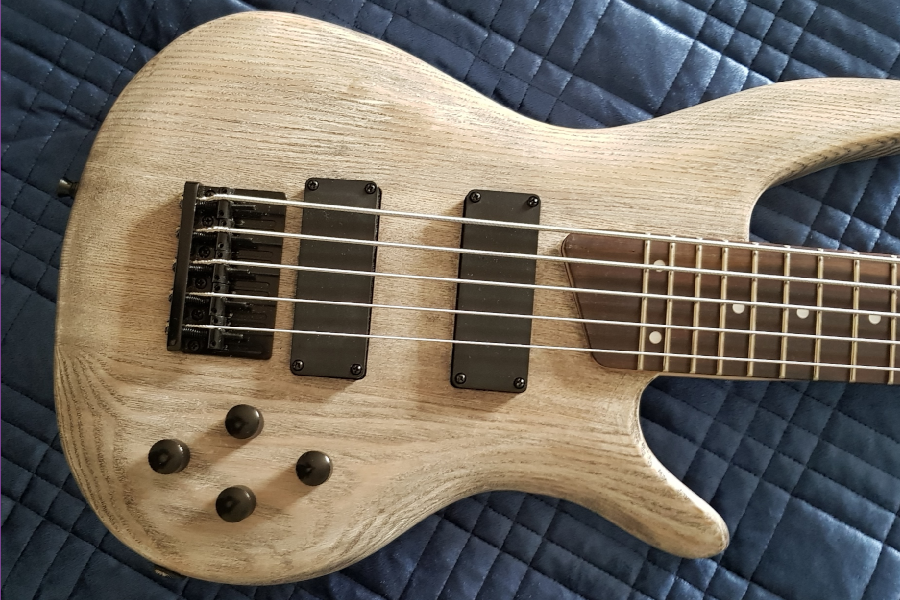
IBANEZ CUSTOM BASS SHOWCASE
- The Guitar Fabrik
- May 29, 2025
- 427views
B.C. RICH CUSTOM GUITAR SHOWCASE
- The Guitar Fabrik
- May 1, 2025
- 177views
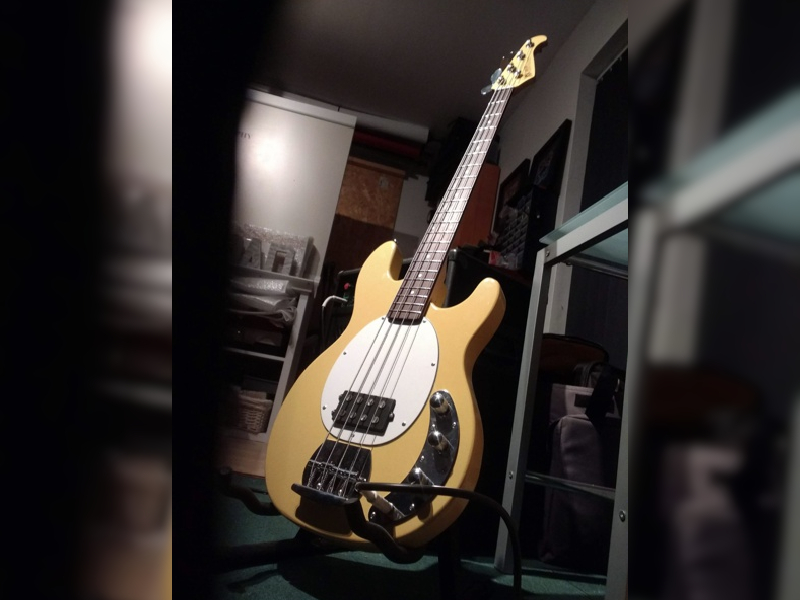
MUSIC MAN CUSTOM BASS SHOWCASE
- The Guitar Fabrik
- Apr 28, 2025
- 733views
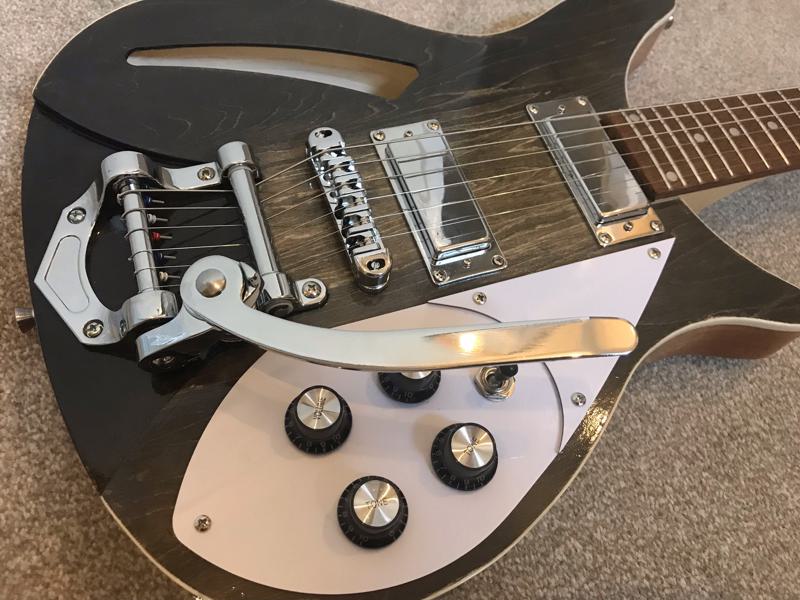
RICKENBACKER CUSTOM GUITAR SHOWCASE
Related Products
From $28.19 was $55.31
To $197.07 was $229.84
Recent Posts