UK
UK FR
FR DE
DE IT
IT ES
ESCOPPER TAPE INSTALLATION
- The Guitar Fabrik
- GUITAR KIT USER GUIDE
- Feb 8, 2023 views
- 403

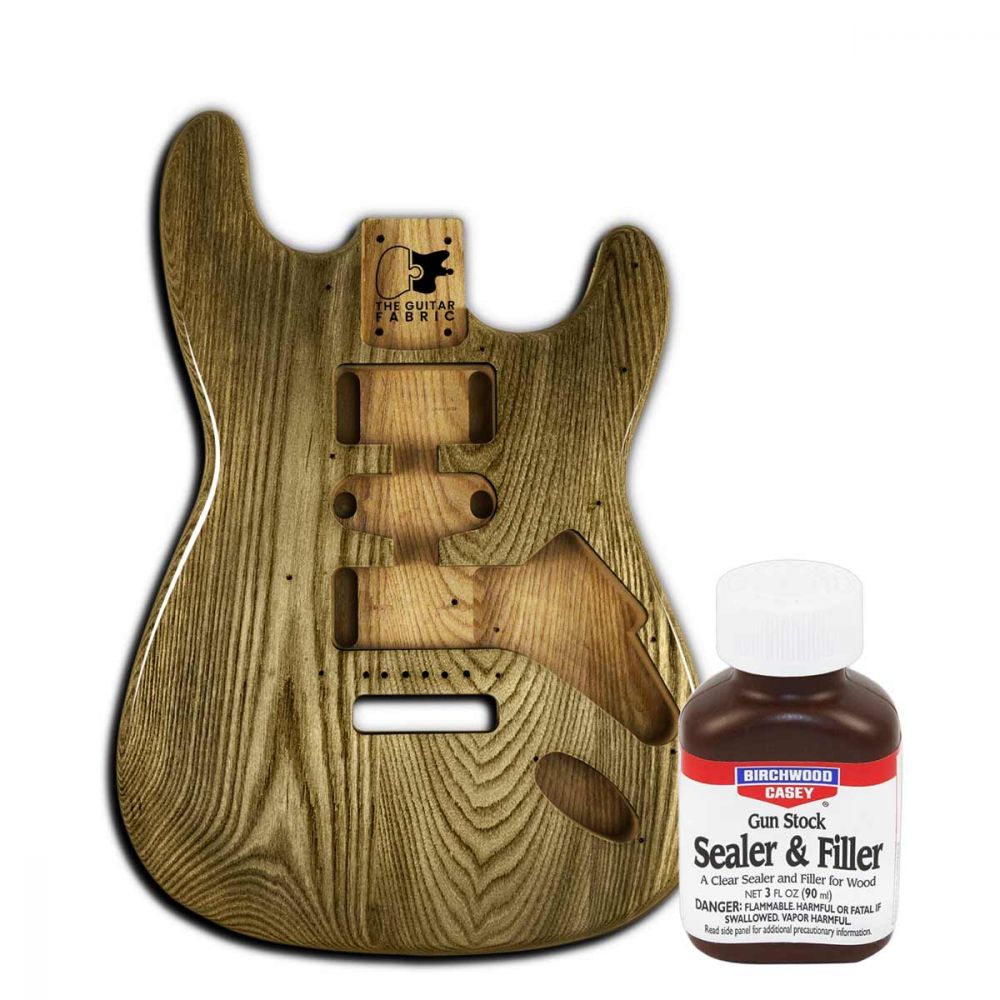
Mix with wood filler: If using wood filler as explained in the filler section, it will significantly increase the intensity of the dye.
GUITAR SHIELDING
Copper tape is a crucial component for avoiding electromagnetic interference (EMI). When applied correctly, it creates a Faraday cage inside the electronic cavities of your guitar, helping ensure a clean sound. In this guide, we'll demonstrate how to shield a Telecaster body, but the method applies to all our guitar kit bodies. EMI can be especially problematic when surrounded by other electrical systems, particularly with single-coil pickup guitars.
How It Works
Applying copper tape inside the pickup cavities, switch areas, and around the pots creates a Faraday cage, isolating the electronics. Without this, your guitar may produce feedback or buzzing when exposed to external electromagnetic sources. Shielding the wiring itself also helps reduce EMI.
What You’ll Need
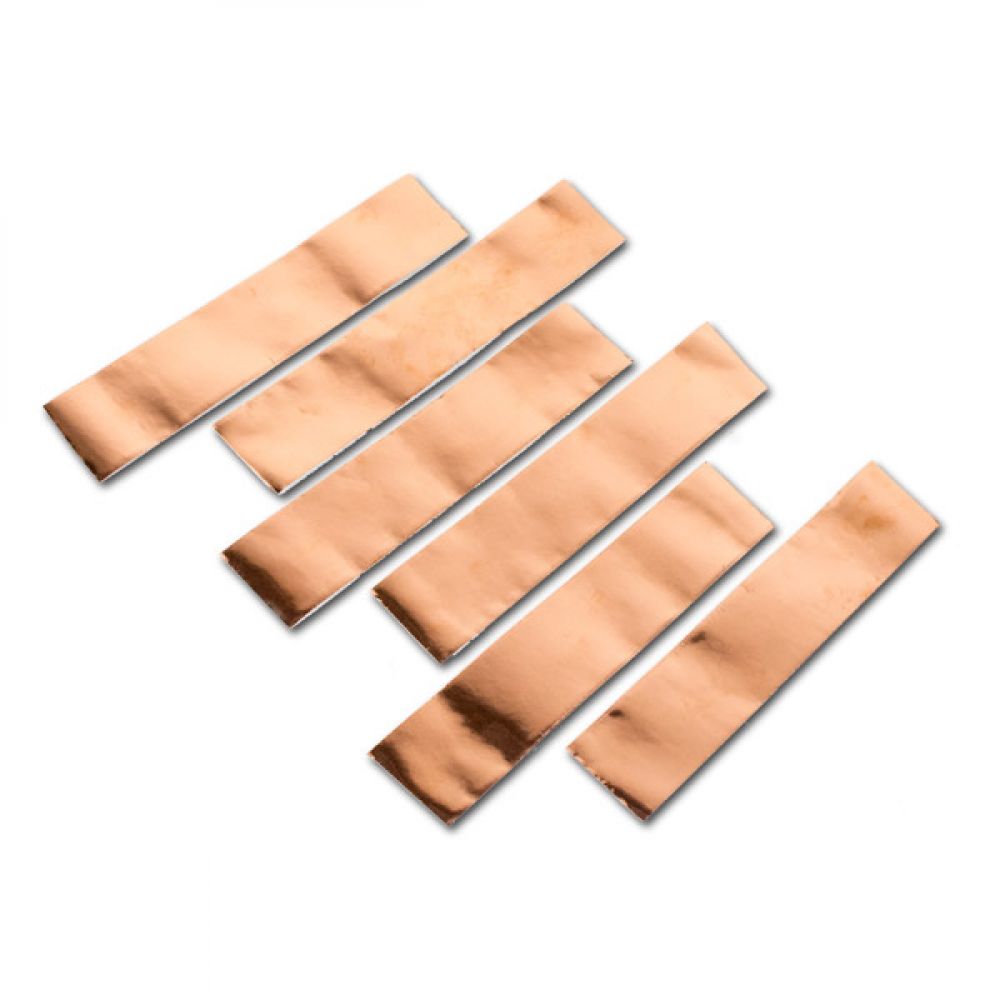
- Adhesive copper shielding tape (available on The Guitar Kit Fabric website)
- A multimeter (to test continuity and proper shielding)
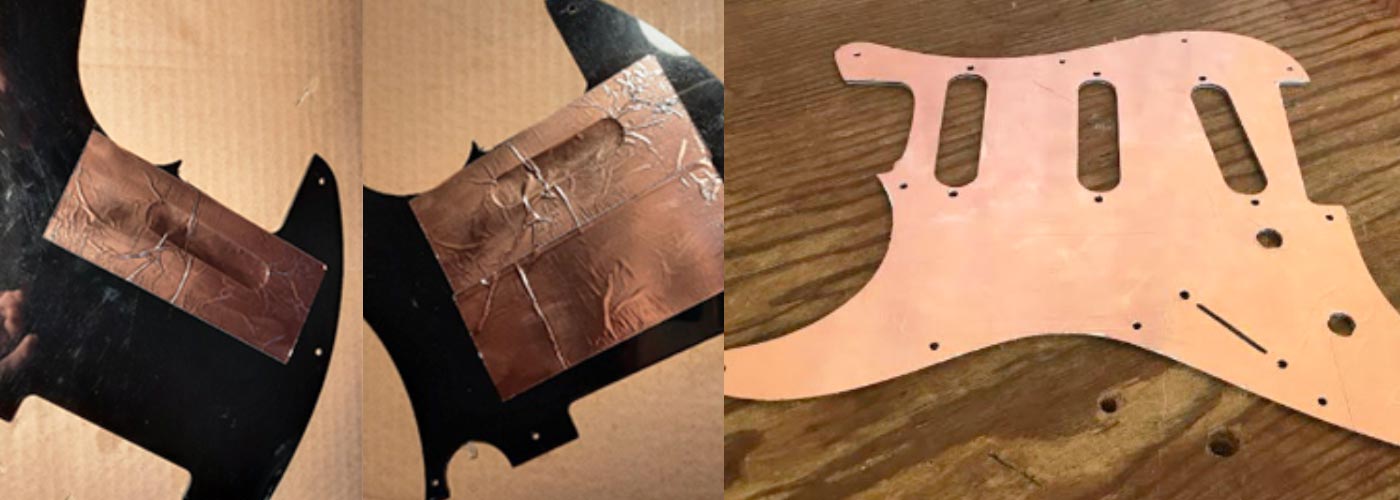
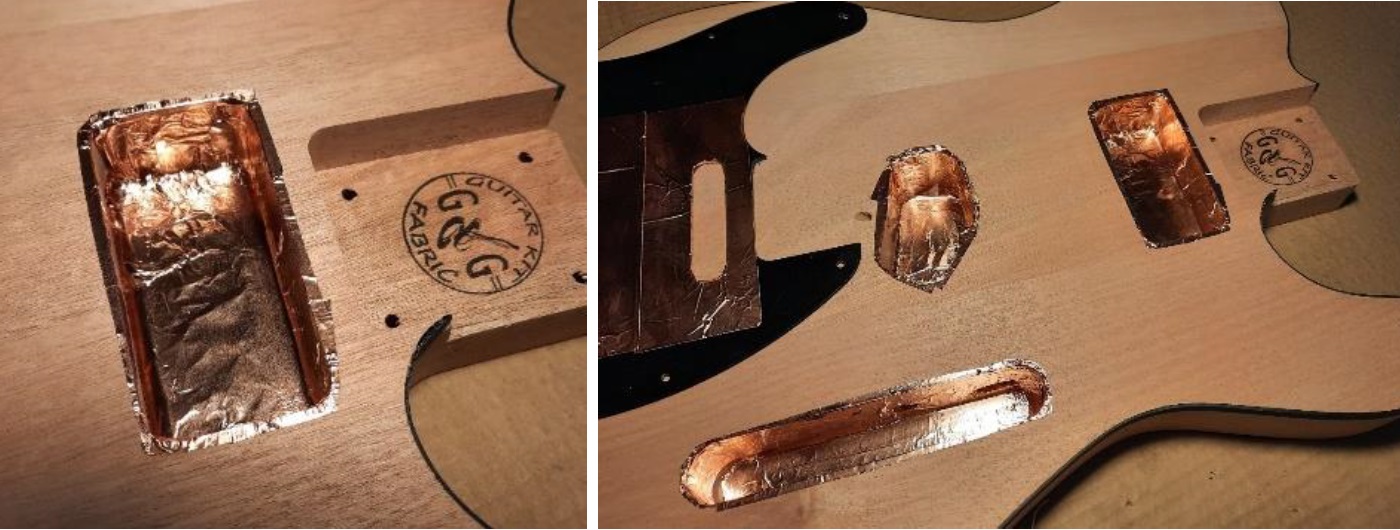
Shielding the Pickguard
On a Telecaster, only the area of the pickguard that overlaps the pickup cavities needs shielding. The rest can be left unshielded. For a Stratocaster, however, the entire back side of the pickguard should be covered since it houses pickups and pots.
To apply the shielding, cut the tape to fit the needed zones and stick it to the back of the pickguard. Slightly overlap each strip to ensure conductivity. Once applied, trim away excess tape from the pickup holes and other cutouts.
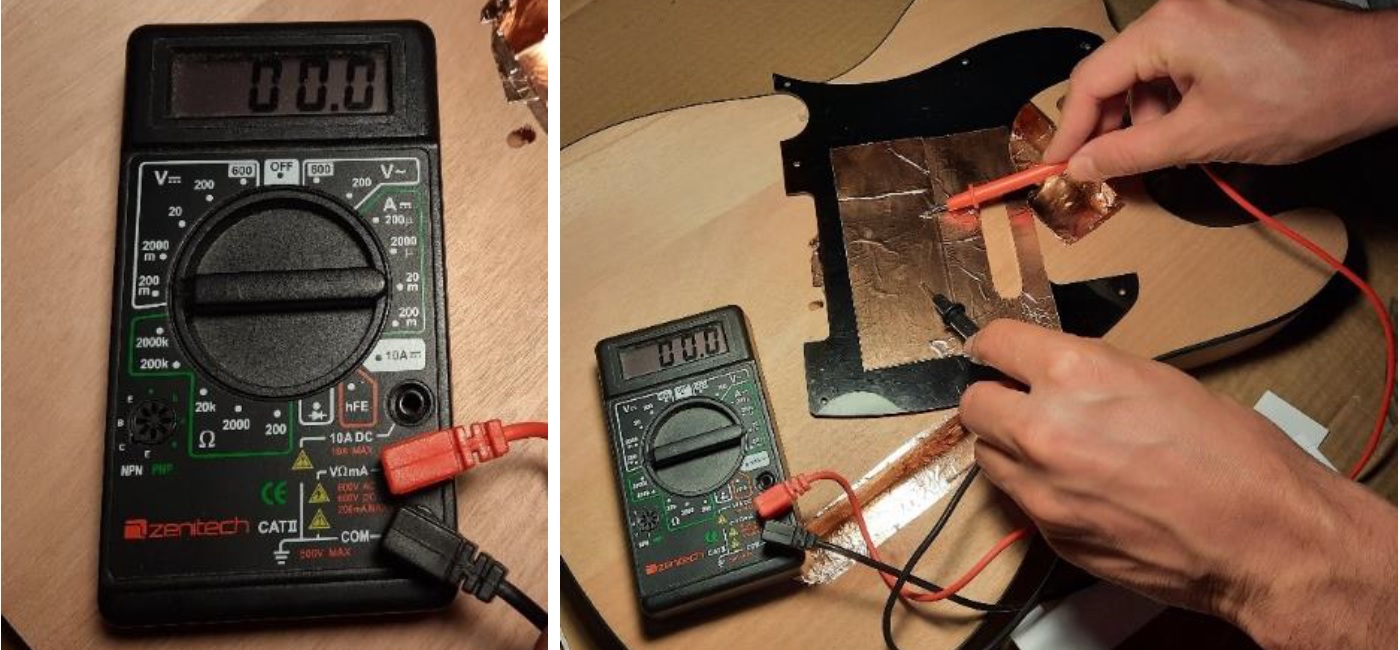
Testing Conductivity
Using a multimeter is optional but recommended. Set it to continuity mode or a low voltage setting. If shielding is properly installed, you should get a 0.00 reading between any two points on the copper tape.
Shielding the Guitar Body Cavities
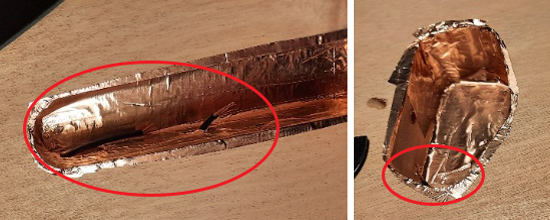
Repeat the process for the body cavities. For a Telecaster, apply tape to the neck pickup cavity, bridge pickup cavity, and control cavity. You can use small strips for easier application. Ensure full coverage, especially on the side walls of the cavities.
IMPORTANT: The tape on the cavity walls must reach the edges so it makes contact with the shielding on the pickguard, completing the Faraday cage. Don’t skip this step!
Once shielding is complete, use your multimeter again to confirm conductivity. Our copper tape is fully conductive, even on the adhesive side—so no soldering between strips is required unless you prefer to reinforce the contact.
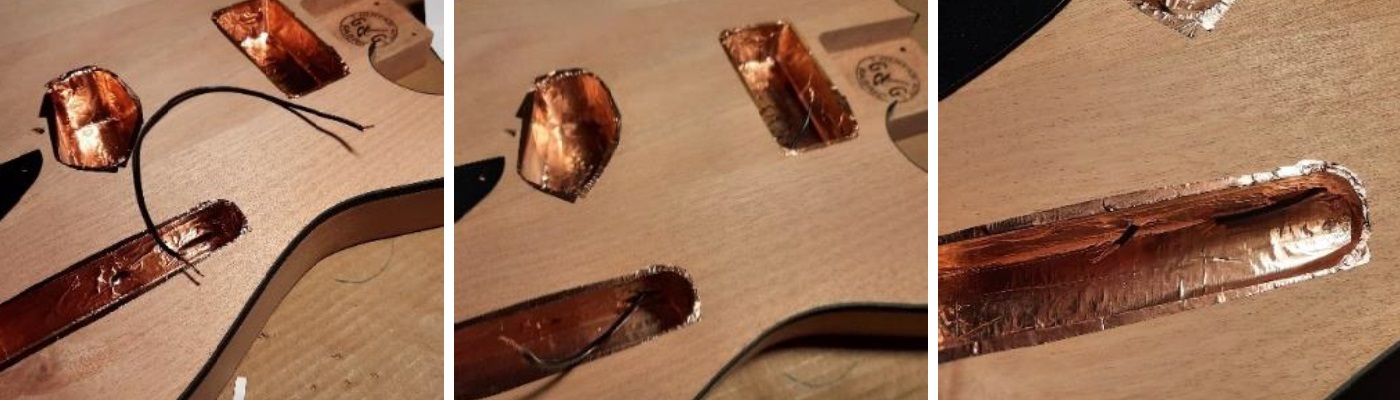
Connecting the Cavities
To ensure all cavities are electrically connected, run wires through the existing wiring holes. Use either soldered wire (e.g., tinned copper) or simply bridge cavities using more adhesive copper tape. Our tape is strong and conductive enough to serve this purpose without a soldering iron.
For a Telecaster, connect the three main cavities: neck pickup to control cavity, and bridge pickup to control cavity.
Once everything is in place, run one final multimeter test to ensure all cavities are interconnected. Test multiple points. If you get 0.00 across the board—congrats! Your shielding is complete and effective.
Related Products

Related Posts
- The Guitar Fabrik
- Jun 27, 2025
- 296views
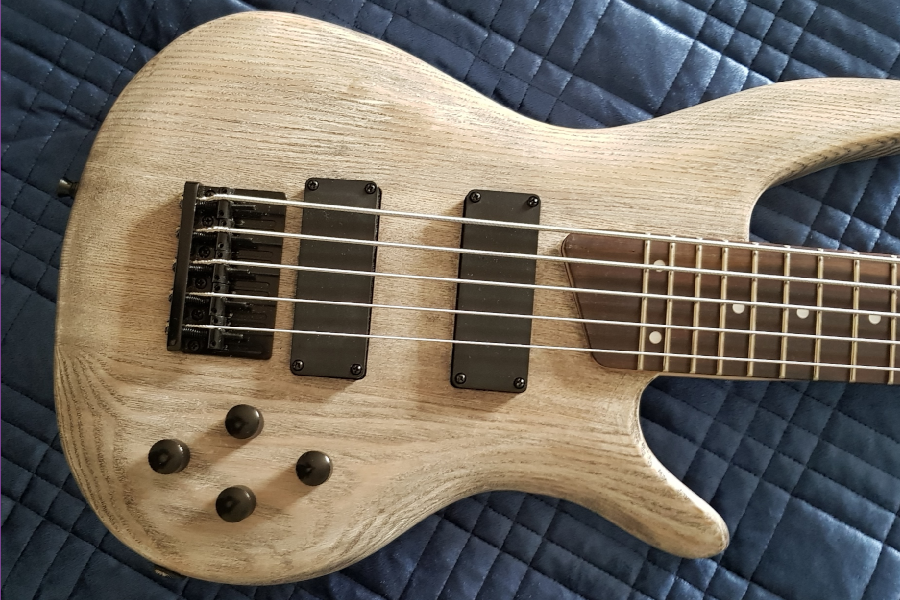
IBANEZ CUSTOM BASS SHOWCASE
- The Guitar Fabrik
- May 29, 2025
- 427views
B.C. RICH CUSTOM GUITAR SHOWCASE
- The Guitar Fabrik
- May 1, 2025
- 177views
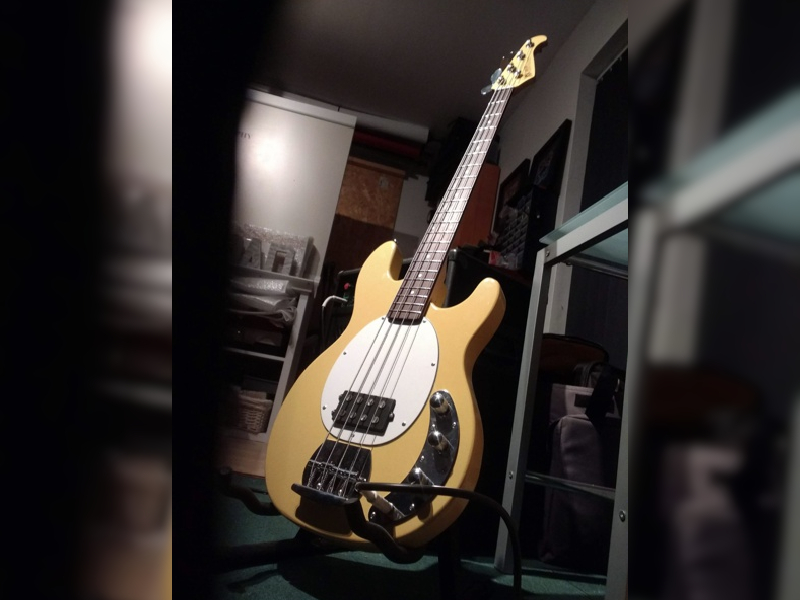
MUSIC MAN CUSTOM BASS SHOWCASE
- The Guitar Fabrik
- Apr 28, 2025
- 733views
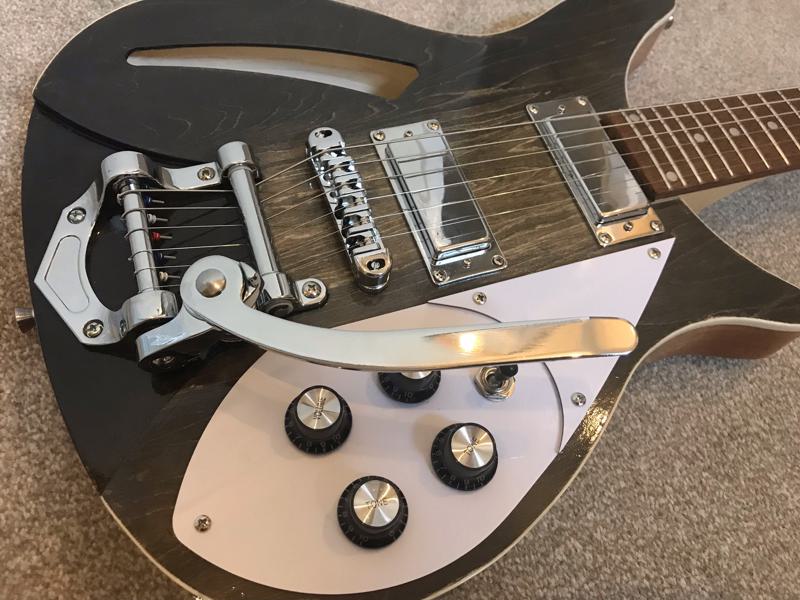
RICKENBACKER CUSTOM GUITAR SHOWCASE
Related Products
Recent Posts