UK
UK US
US DE
DE IT
IT ES
ESAPPLY TRU OIL SEALER ON A GUITAR BODY
- The Guitar Fabrik
- GUIDE : PEINDRE UNE GUITARE
- 22 mai 2025 views
- 267
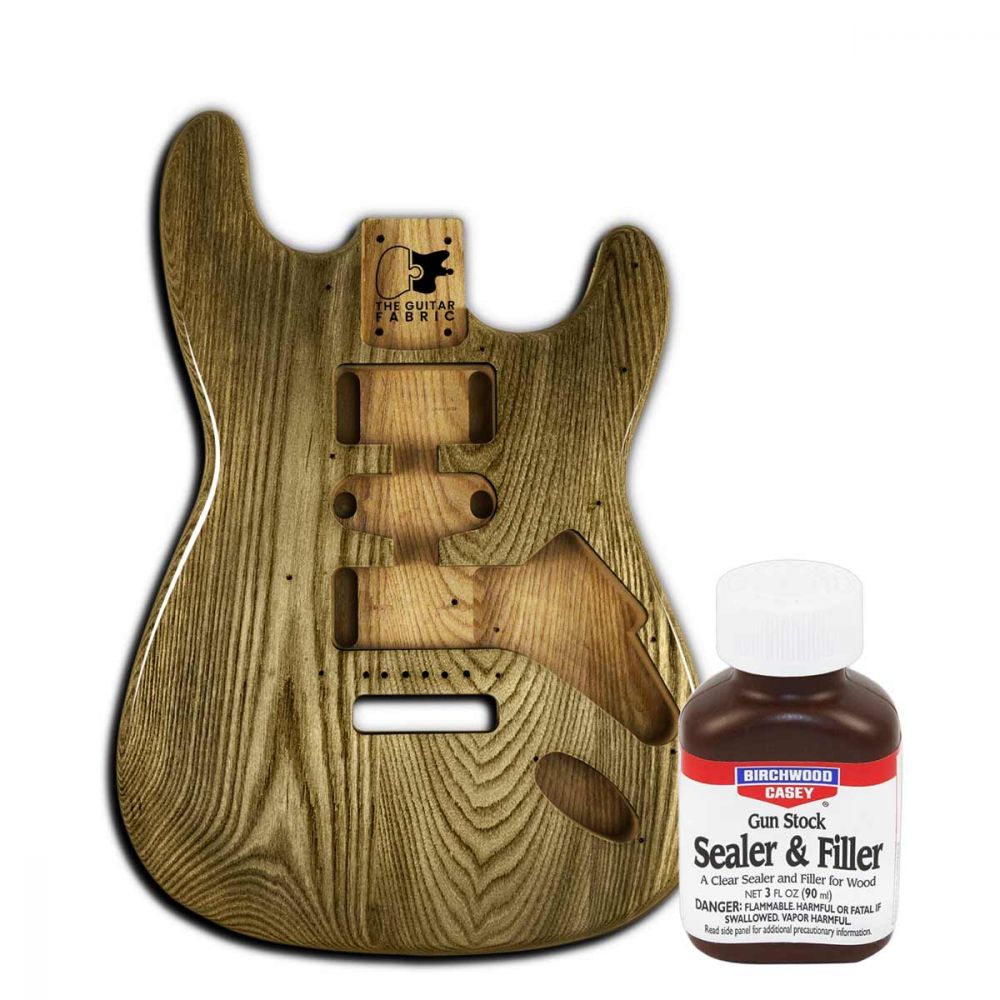
APPLYING THE TRU-OIL: SEALER & FILLER
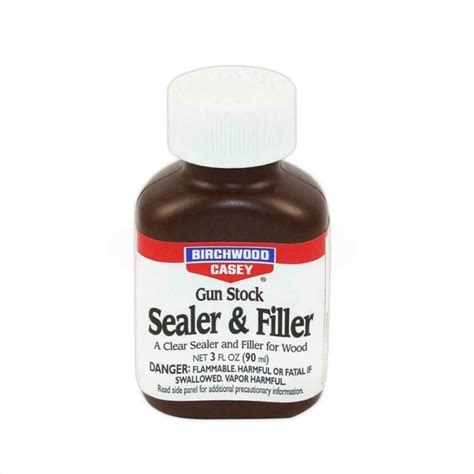
General Information
is a specially formulated base coat designed to both seal the wood and fill its pores, creating a smooth, professional foundation for your finish. It’s ideal for open-pore woods such as mahogany, ash, and walnut. Here's what it will help you achieve:
• A more even and efficient application of Tru-Oil finish.
• Reduced absorption of oil into the pores, saving product and enhancing shine.
• A silky-smooth final result, free from visible pores or pinholes.
• Better adhesion and longevity for your finish coats.
Note: This product is a clear sealer-filler, so it will not alter the color of your wood. If you wish to tint the body, do so before sealing or mix a compatible dye with the filler before application.
Preparation
Start by preparing your guitar body:
• Sand the wood progressively up to P320 grit. Avoid over-sanding which can burnish the surface and reduce absorption.
• Remove dust using a tack cloth or vacuum.
• Optionally, apply a wood dye for coloration before sealing. Let it dry completely before proceeding.
Optional Tip: Slightly warming the wood with a heat gun or in the sun can help open the pores before application.
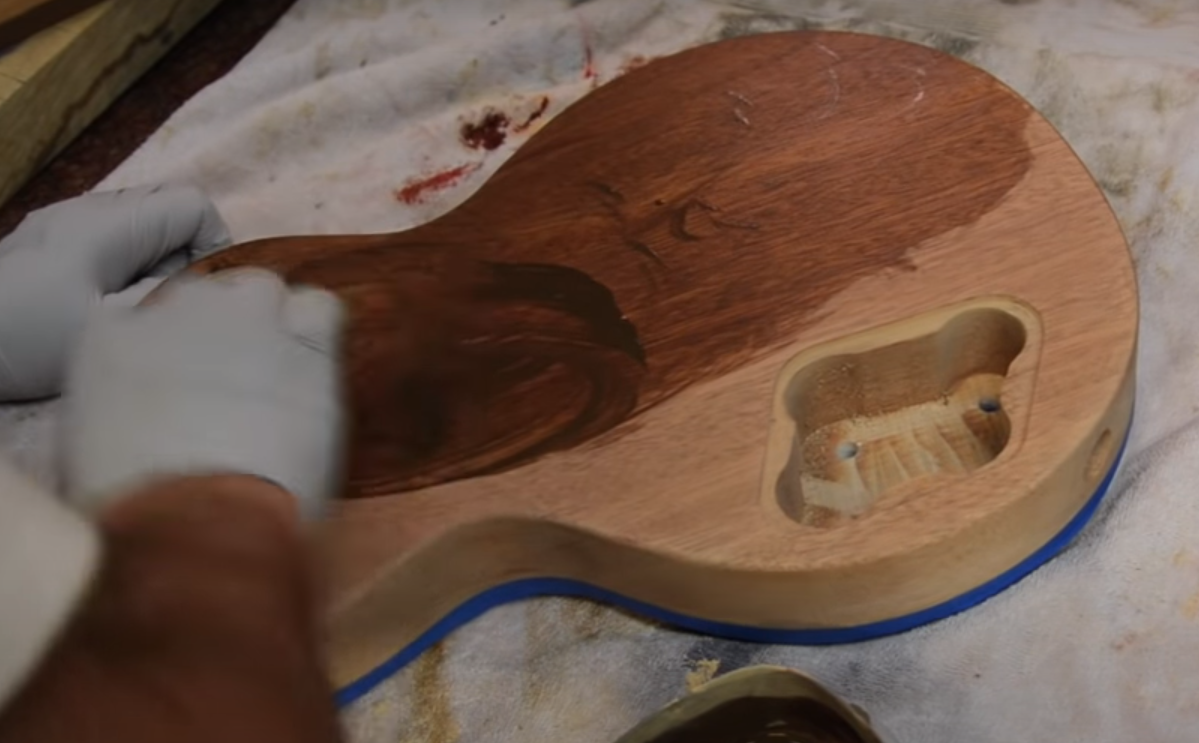
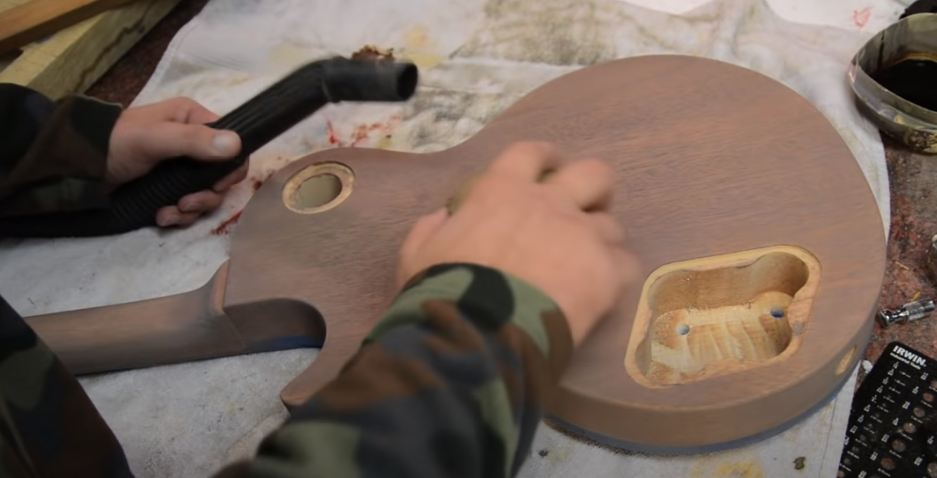
Application
You can apply with a clean, lint-free cloth, a foam brush, or even your fingers in gloves for better control. Follow these steps:
1. Shake the bottle well. Pour a small amount into a disposable container.
2. Apply in thin, even coats, working in circular motions to push the filler into the wood pores. Ensure full coverage of the body and neck (if desired).
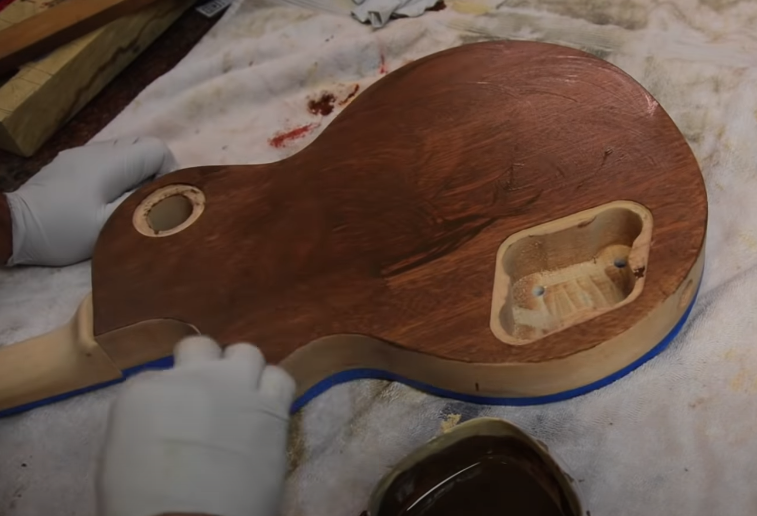
3. Wait 5–10 minutes. While the product is still tacky, wipe off any excess with a clean cloth, following the grain direction. Avoid leaving heavy residue on the surface.
4. Allow to dry for **2–3 hours** (or overnight for best results) in a dust-free, well-ventilated area.
Sanding and Reapplication
Once dry:
• Lightly sand the surface with **P400–P600** grit sandpaper. Sand gently to avoid removing material from the pores.
• Inspect under angled light. If you still see open pores or dull areas, reapply the in the same manner.
• Repeat as needed (1–3 coats is usually sufficient).
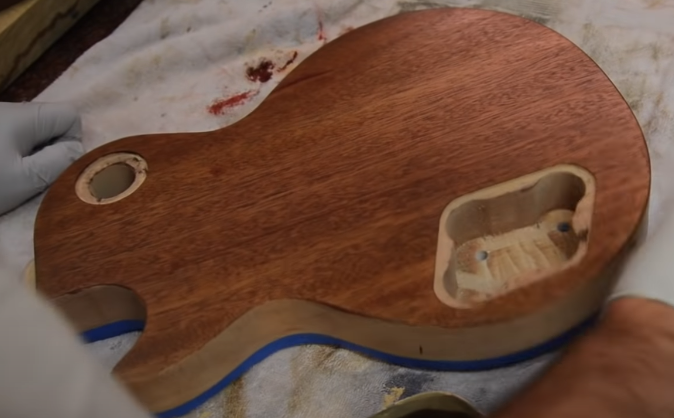
Finishing Touches
After the final sanding, you’ll have a smooth, filled surface ready to receive Tru-Oil finish coats.
• Make sure the surface is free from dust and grease before applying the oil finish.
• Apply Tru-Oil in extremely thin coats, allowing proper drying between applications.
• Buff between coats with fine synthetic wool or micromesh for a glassy finish.
Manage the bindings: Mask your bindings carefully during all application stages. Clean any overrun with a blade or micro-polisher after removing the tape. This ensures crisp, professional edges that highlight your craftsmanship.
Related Products
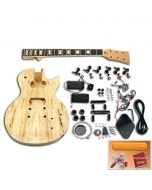
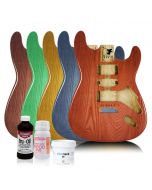
De 23,88 € Prix normal 32,43 €
À 152,45 € Prix normal 189,68 €

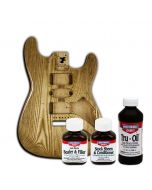
De 46,07 € Prix normal 49,53 €
À 60,33 € Prix normal 64,87 €
Related Posts
- The Guitar Fabrik
- 28 nov. 2025
- 198views
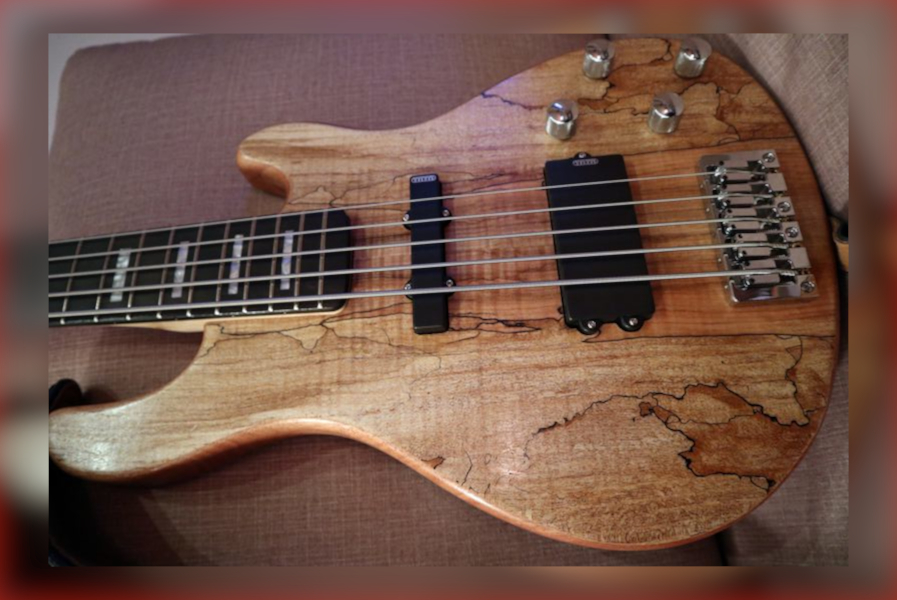
JAZZ BASS CUSTOM GUITAR SHOWCASE
- The Guitar Fabrik
- 28 nov. 2025
- 241views
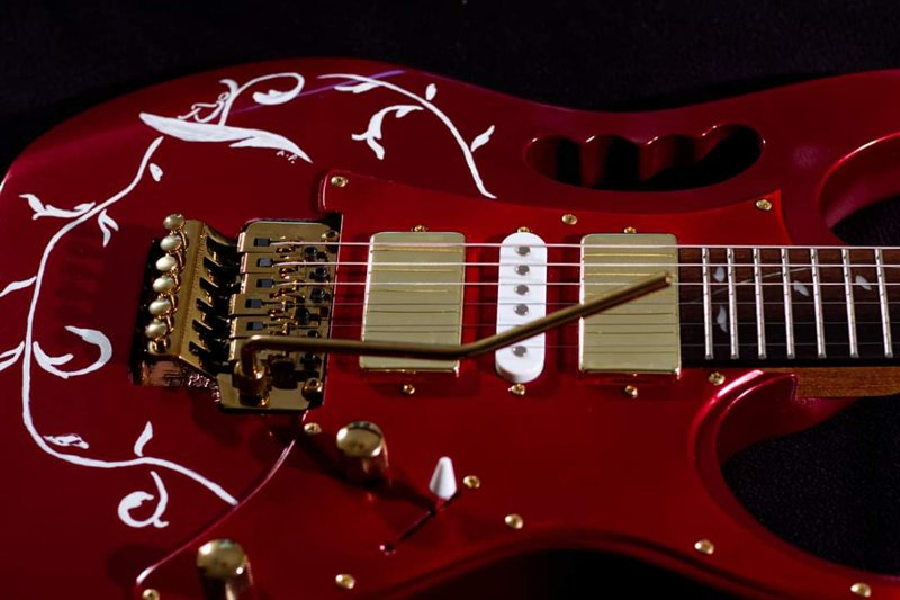
JEM CUSTOM GUITAR SHOWCASE
- The Guitar Fabrik
- 28 nov. 2025
- 403views
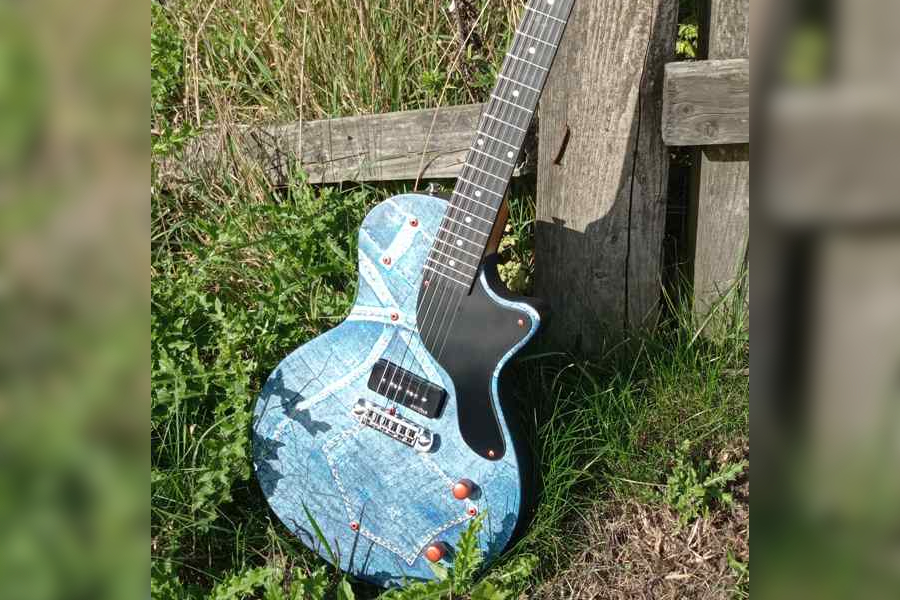
LES PAUL CUSTOM GUITAR SHOWCASE
- The Guitar Fabrik
- 28 nov. 2025
- 611views
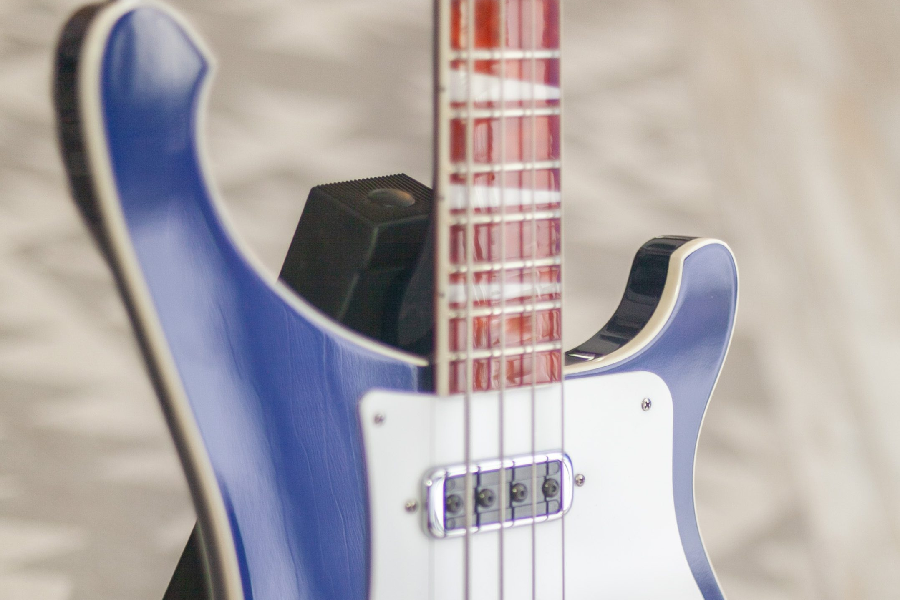
RICKENBACKER CUSTOM BASS SHOWCASE
Related Products
De 23,88 € Prix normal 32,43 €
À 152,45 € Prix normal 189,68 €
De 46,07 € Prix normal 49,53 €
À 60,33 € Prix normal 64,87 €
Recent Posts